
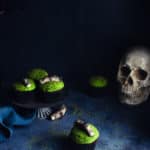
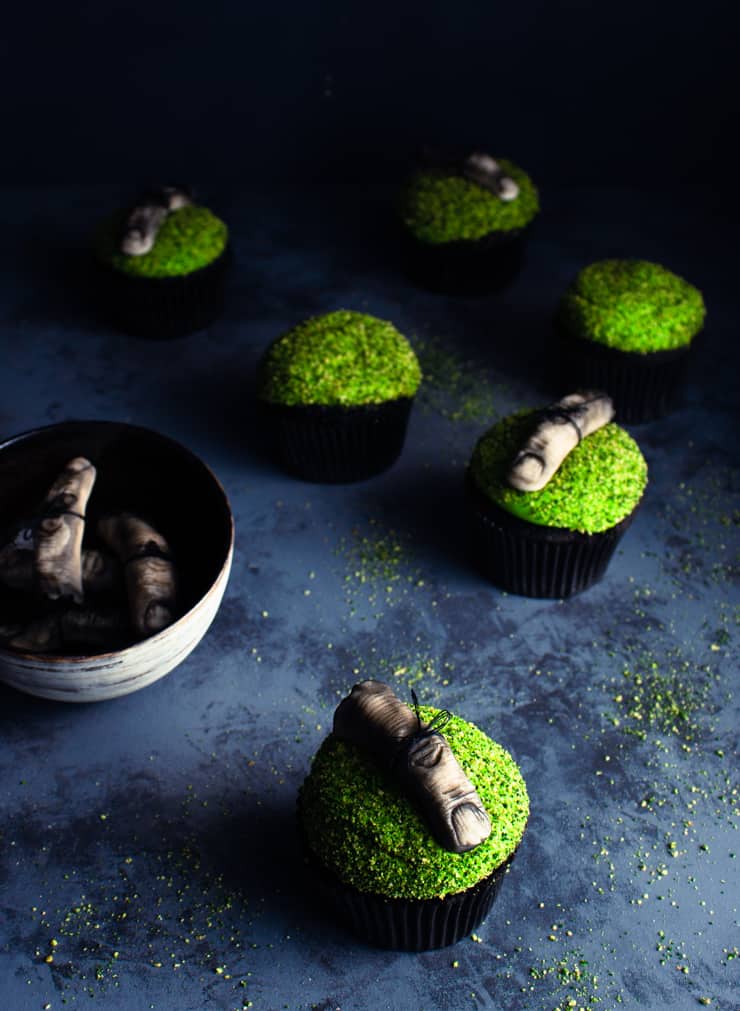
There may be debate about the origins of tying string around your finger as a reminder, but there's no debating that these cupcakes will be unforgettable! Whether sending them as party invitations or making them the center of your Halloween dessert line-up, these cupcakes are sure to delight and deliciously satisfy even the scariest sweet tooth!
Have you ever seen those Martha Stewart Halloween invitations? You know, the ones with the plaster finger tied with a neat little black bow and a card that says "Don't forget"? I saw them in her magazine years ago and have been obsessed ever since! First of all, they're gruesome and I love it. But deep down, I always wondered: why not make them edible? Too far? I think not!
How to make zombie finger cupcakes
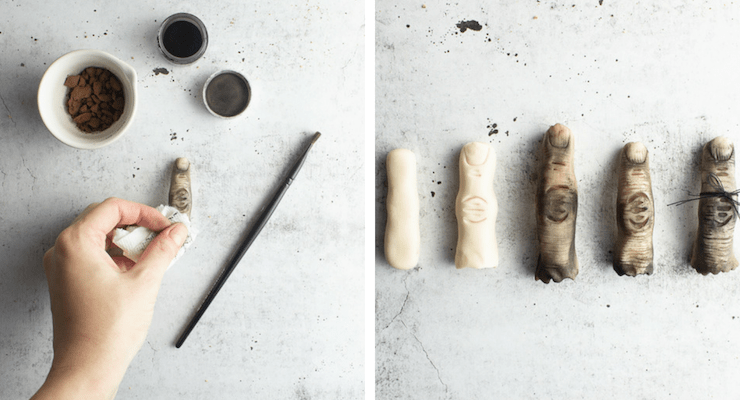
First, make the fondant fingers. Start with about a quarter-size ball of flesh colored fondant (you can buy fondant that is already this color or tint white fondant using ivory food coloring).
Roll the piece of fondant out to about pinky finger width and length, and pinch the sides around the knuckle area.
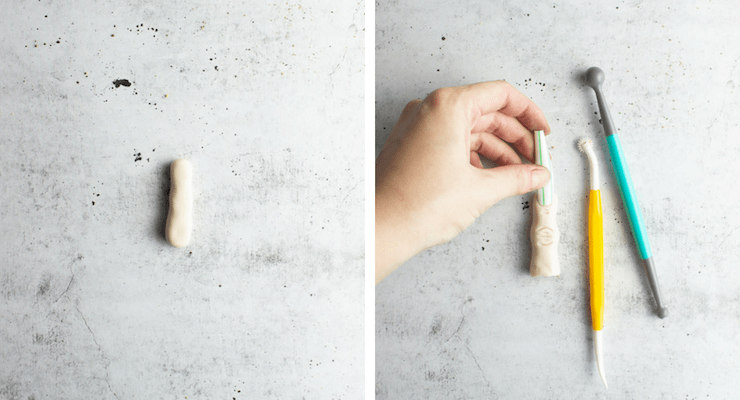
Use a ball tool to create an indent at the large end of the finger. Pull the ends to create a frayed effect.
Use a scribe tool to carve out the knuckle joint lines, and score the finger repeatedly with short, shallow strokes to create texture.
Repeat for each finger and set aside to harden. To get a slightly bent shape, lay them on something that will slightly elevate them, like a straw.
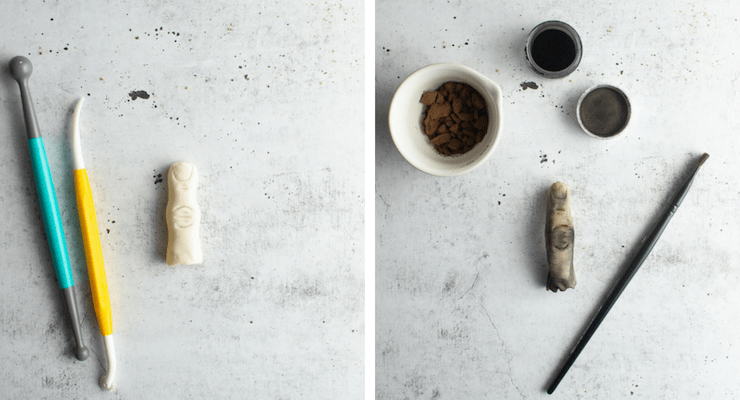
For the coloring, brush each finger with baking cocoa. Use a damp paper towel to blotch away some of the cocoa to create a slightly uneven, organic finish.
Repeat this step with the black powdered food coloring until you reach the desired effect.
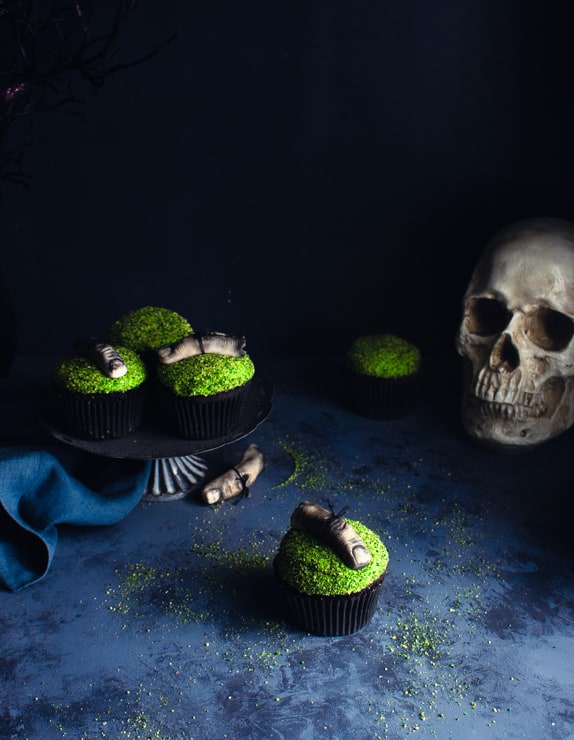
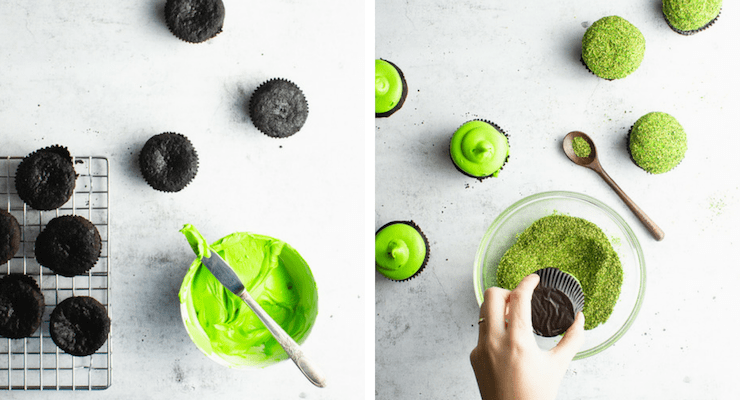
Finally, frost your cupcakes, dips the tops in green colored graham crackers and top with your spooky fondant fingers! Dare I say, enjoy?
A few tips on making these cupcakes
- Fondant decorations, like these finger cupcake toppers, can be made well in advance of when you need them. Just make sure to keep them in a cardboard box or a paper bag. Storing them in air-tight plastic containers will cause them to get soft and sticky.
- What makes these fondant fingers work are all the little details. Take your time and keep adding little details here and there until they're just right.
- Don't have a scribe tool? Try the un-serrated side of a butter knife.
- No ball tool? No problem! Try the round, handle-end of your flatware or use your fingers to gently work an indent into the piece of fondant.
- A fluffy frosting pipes more easily than a thick buttercream. If you’re making your own, an Italian or French meringue buttercream works best. If you’re buying something from the store, try a “fluffy” vanilla frosting.
- Fill that piping bag like a pro: Spoon your frosting onto a large piece of plastic wrap, roll and twist the ends. Trim one end so there’s about ½” in length, drop your frosting into the piping bag (short end first) with the tip already on and pipe!
- Storing frosted cupcakes: While cupcakes are always best when eaten the same day they’re made, these can be stored in an air-tight container at room temperature for 1-2 days.
Did you make this recipe? I’d love to hear how it went in the comments below. Better still, snap a photo and tag it on Instagram with #thesimplesweetlife. I love seeing your creations!
PrintRecipe
Forget Me Not Cupcakes
There may be debate about the origins of tying a piece of string around your finger as a reminder, but there's no debating that these cupcakes will be unforgettable! Whether sending them as party invitations or making them the center of your Halloween dessert line-up, these cupcakes are sure delight and deliciously satisfy even the scariest sweet tooth!
- Prep Time: 1 hour
- Total Time: 1 hour
- Yield: 12
- Category: Dessert
- Cuisine: American
Ingredients
- 12 cupcakes
- 2 ½ cups frosting
- ⅓lb fondant
- 5 graham crackers, crushed
- Food coloring in blue, yellow and brown
- Baking cocoa
- Black powdered food coloring
- Black thread or embroidery floss
Instructions
- To make the fondant fingers, start with a small quarter-size ball of fondant.
- Roll the piece of fondant out until it is the length and width of your pinky. Trim an end if it gets too long.
- Use your thumb and index fingers to pinch the fondant on either side of where the knuckle join would be.
- Using a straw cut in half and rounded at the edges, make an indent for the finger nail.
- Use a ball tool to create an indent at the large end of the finger. Pull the ends to create a frayed effect.
- Use a scribe tool to carve out the knuckle joint lines, and score the finger repeatedly with short, shallow strokes to create texture.
- Repeat for each finger and set aside to harden. To get a slightly bent shape, lay them on something that will slightly elevate them, like a straw.
- For the coloring, brush each finger with baking cocoa. Use a damp paper towel to blotch away some of the cocoa to create a slightly uneven, organic finish.
- Repeat this step with the black powdered food coloring until you reach the desired effect.
- Tie a bow on each fondant finger using thread or embroidery floss.
- In a food processor, pulse your graham crackers until finely ground. Alternative, you can crush them in a large plastic bag with a rolling pin.
- In a small bowl, add blue and yellow food coloring, and mix with vodka or water to thin.
- Combine the graham cracker crumbs and food coloring, stirring until crumbs are evenly coated. Repeat until you reach the desired shade of green.
- Tint your frosting a mossy green using blue, yellow and brown food coloring.
- Scoop your green frosting into a piping bag and, using a large round tip (like an Ateco 809), pipe a swirl of frosting onto the tops of each cupcake.
- Dip the frosted cupcakes into the green graham cracker crumbs until the frosting is completely coated.
Notes
- Fondant decorations, like these finger cupcake toppers, can be made well in advance of when you need them. Just make sure to keep them in a cardboard box or a paper bag. Storing them in air-tight plastic containers will cause them to get soft and sticky.
- What makes these fondant fingers work are all the little details. Take your time and keep adding little details here and there until they're just right.
- Don't have a scribe tool? Try the un-serrated side of a butter knife.
- No ball tool? No problem! Try the round end of your flatware or use your fingers to gently work an indent into the piece of fondant.
- A fluffy frosting pipes more easily than a thick buttercream. If you’re making your own, an Italian or French meringue buttercream work best. If you’re buying something from the store, try a “fluffy” vanilla frosting.
- Fill that piping bag like a pro: Spoon your frosting onto a large piece of plastic wrap, roll and twist the ends. Trim one end so there’s about ½” in length, drop your frosting into the piping bag (short end first) with the tip already on and pipe!
- Storing frosted cupcakes: While cupcakes are always best when eaten the same day they’re made, these can be stored in an air-tight container at room temperature for 1-2 days.
Sue says
These look amazing and delicious... in a creepy way ! Thanks for the very detailed instructions 🙂 Your blog is so user friendly!!! I also really love your photos!!
Aditi Wardhan Singh says
Okay. You had me creeped out and certainly pranked by saying forget me not .. I thought it would be flowery.. hah! Good one. The instructions are sooo detailed. Great post for Halloween.
Ronni says
My goodness - those fondant fingers look so spooky! Great job - these look amazing! Not sure if I could eat one 😉
Annette says
How awesome! I can’t get over how real the finger looks. You did a great job! Thanks for sharing.
Clair says
I am absolutely loving these cupcakes! They would be perfect for our Halloween party tomorrow night!
Julie says
Wow! These are amazing for Halloween 🎃 Perfect and you made them look so creepy...good job!