

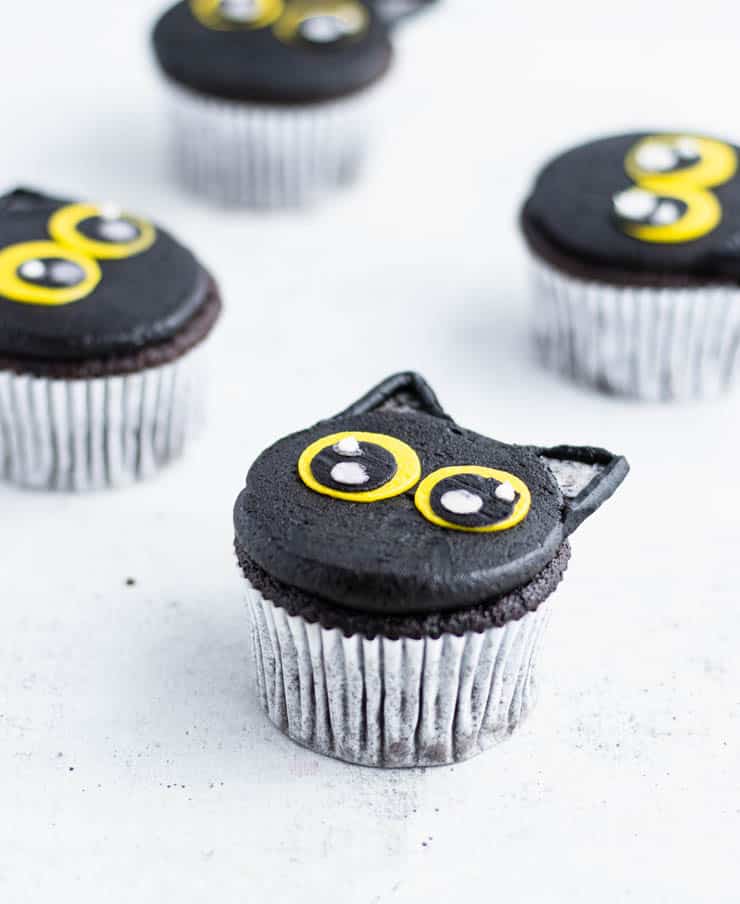
These cute cat cupcakes are every bit the cat's pajamas! With Oreo ears and a rich chocolate buttercream frosting, these sweet Halloween cupcakes are every bit as adorable as they are delicious.
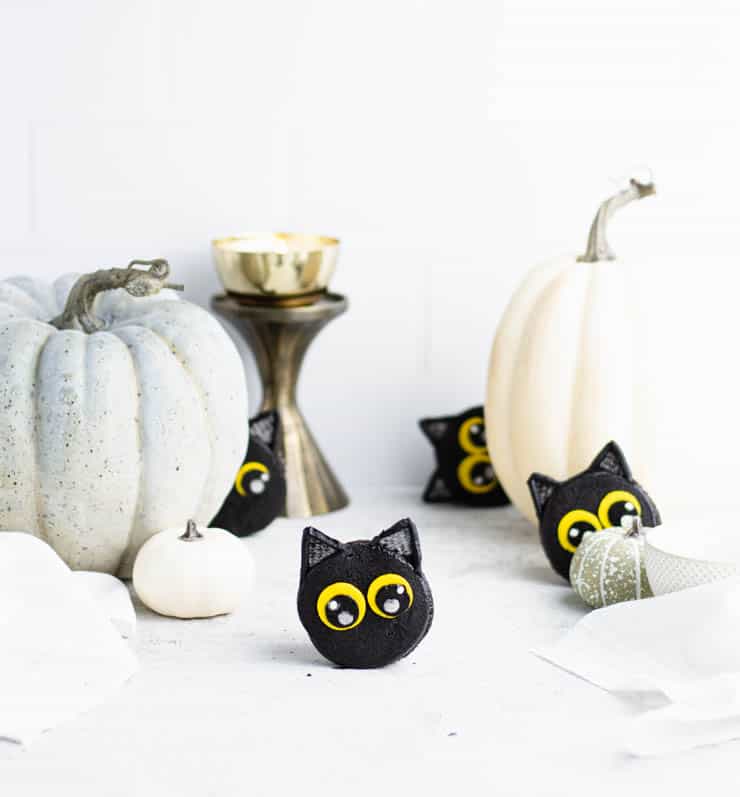
For anyone who's ever had a cat, you know this look. It's the full pupil dilation that proceeds the kind of pounce that makes your heart want to leap out of your chest. Or at least makes you want to pull back all possibly sever-able appendages.
But don't let these sugary eyes fool you, because these cat cupcakes are all frosting and no bite.
Here's how to make these cupcakes
First, make or buy a dozen cupcakes.
If you plan to make your own cupcakes and are looking for something decadently delicious, I highly recommend my go-to chocolate cupcake recipe.
But if you need to save some time, there’s no shame in purchasing cupcakes; Most grocery store bakeries will sell them to you sans-frosting.
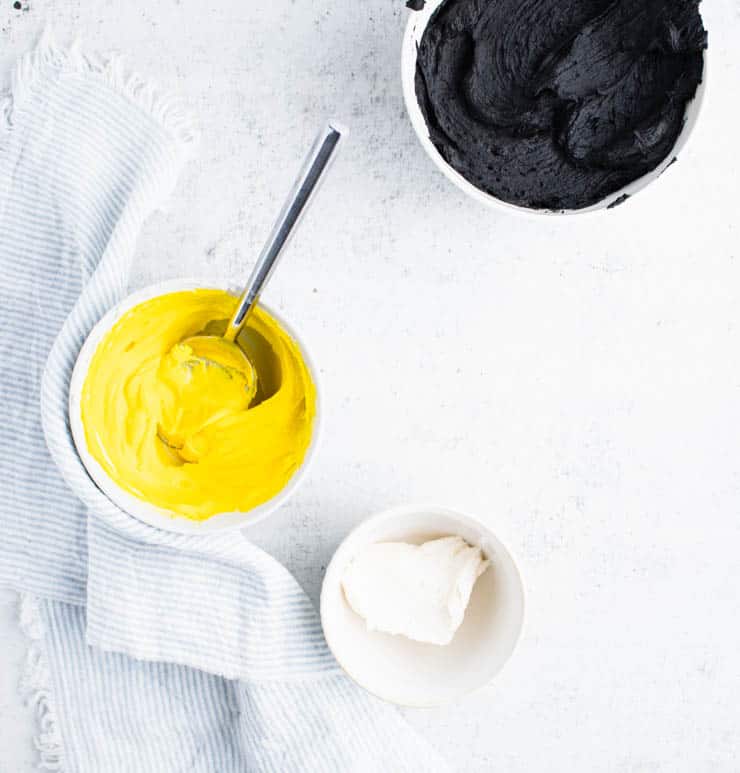
Second, make your frosting.
For these cupcakes, we'll be making a vanilla buttercream for the yellow and white frosting and then adding some cocoa powder to make a chocolate buttercream for the black.
A note on store bought vs. homemade frosting: Although you can use store bought frosting for this tutorial, I don’t recommend it. The frosting we’ll be making is a crusting buttercream, which means we’ll be able to do things with it that won’t work as well on store bought frosting, which doesn’t crust in the same way.
In the bowl of a stand mixer, cream the butter on medium until smooth. Add the powdered sugar and vanilla extract, and continue beating on medium until light, fluffy, and free of lumps.
Spoon a couple tablespoons into a bowl and color yellow, and a couple tablespoons into another bowl, leaving it white.
Add the baking cocoa and continue beating until smooth. If the frosting gets too thick, you can add a few tablespoons to thin it. Use black food coloring to color the frosting black.

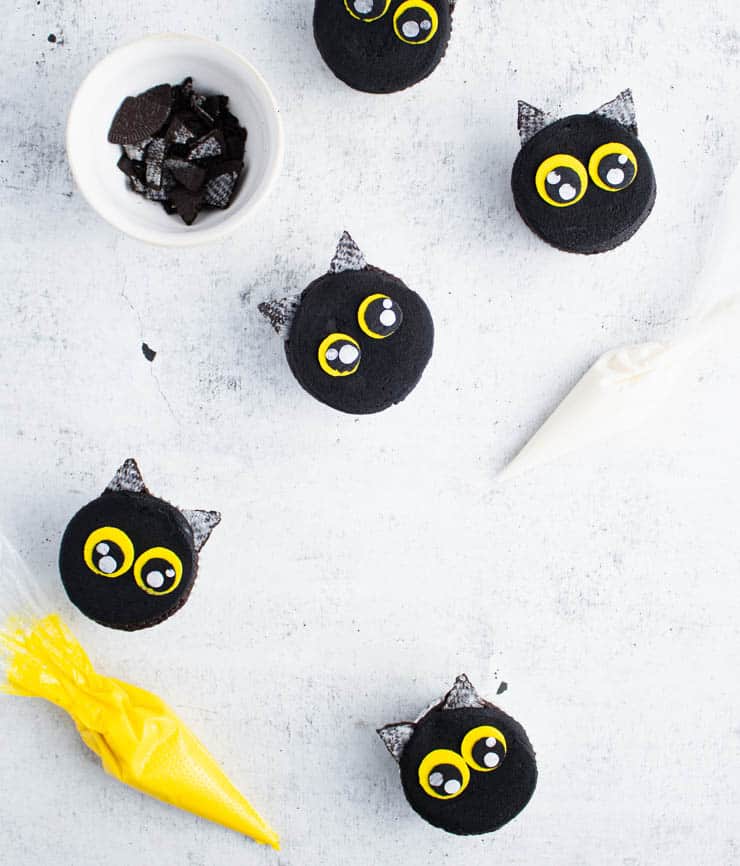
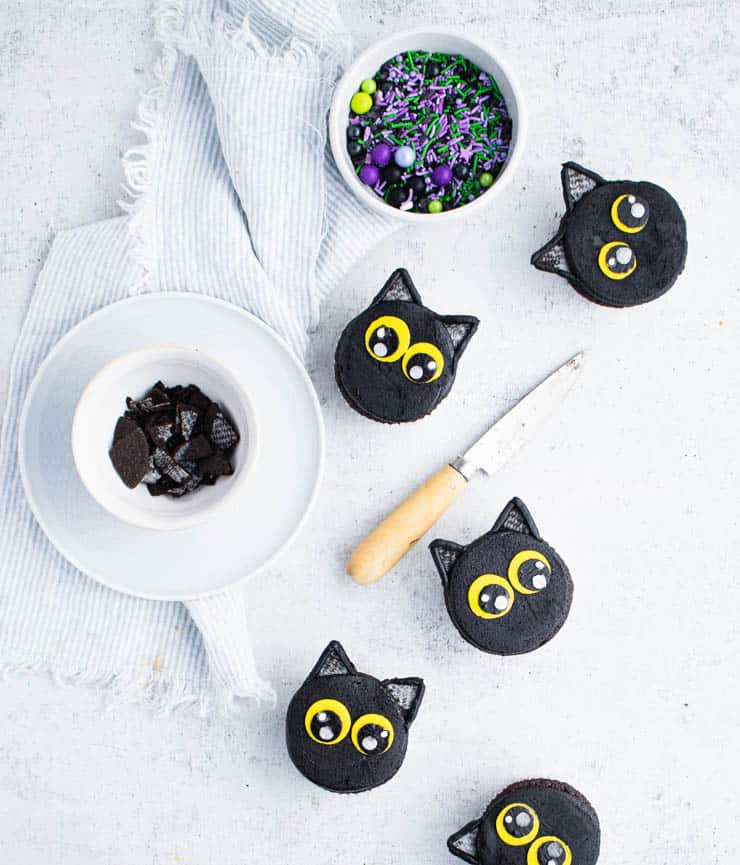
Third, prepare the Oreo ears.
Pull apart the Oreos, remove the filling and cut into quarters. Cut about a centimeter or two off of each quarter to narrow the ears just a little.
Finally, pipe the faces onto the cupcakes.
Spoon the black frosting into a piping bag with a large, round tip (like an Ateco 809) and pipe a single layer of frosting onto the top of each cupcake.
Turn the cupcakes frosting-side-down onto a parchment paper lined baking sheet, and gently press flat until the frosting is even around the edges.
Gently slide two Oreos ears into the frosting, inserting them as close to the cupcake as possible.
Refrigerate or freeze until firm (about 10 minutes).
A note about fixing imperfections: If the frosting has divots where it didn't quite fill (particularly in the center), you can use an offset spatula or butter knife to move frosting from the surrounding area into it. Return it to the parchment, frosting-side-down, and refrigerate.

Peel the cupcakes off the parchment paper and turn right-side-up.
Spoon the yellow frosting into a piping bag and clip a small opening. Pipe two small dots of frosting where you'd like the center of each eye to be, leaving plenty of room between them.
Cut rectangles of parchment paper and place the cupcakes frosting-side-down on them, gently pressing until the yellow frosting is evenly distributed and reaches the desired size for the eyes.
A note about the frosting eyes: Be sure not to press the frosting too thin as the black frosting will show through if you do.
Refrigerate or freeze until the frosting is firm (about 10 minutes).
Repeat the process with the eyes using black frosting (in a new piping bag with a small hole clipped in the end) to create pupils and two dots of white frosting per eye to create a reflections.
Refrigerate or freeze between each new addition of frosting.
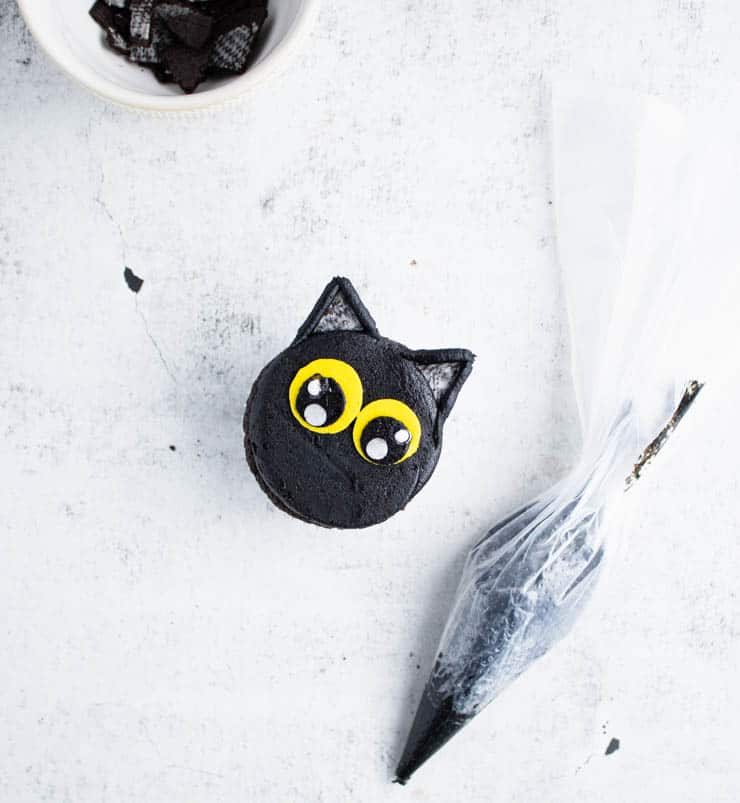
Using the remaining black frosting, outline the Oreo ears with a thin line. Use a toothpick or quilling tool to gently press the ends of the frosting into the sides of the cupcakes.
Expert tips
- The secret to smooth, air-bubble free frosting: Once the frosting has come together, turn your stand mixer down to low and continue beating for about 5 minutes. This should work out most of the air bubbles.
- Using a different kind of frosting: This recipe makes a traditional American buttercream frosting. If you’d like something a little less sweet, feel free to swap it for a Swiss meringue or Italian meringue buttercream at a one to one ratio. I don’t recommend using pre-fab, store bought frosting for these cupcakes.
- Fill that piping bag like a pro: Spoon your frosting onto a large piece of plastic wrap, roll and twist the ends. Trim one end so there’s about ½” in length, drop your frosting into the piping bag (short end first) with the tip already on and pipe!
- Fixing imperfections in the initial layer of frosting: If the frosting has divots where it didn't quite fill (particularly in the center), you can use an offset spatula or butter knife to move frosting from the surrounding area into it. Return it to the parchment, frosting-side-down, and refrigerate.
- A note about the frosting eyes: Be sure not to press the yellow or white frosting too thin as the black frosting will show through if you do.
- Storing frosted cupcakes: While cupcakes are always best when eaten the same day they’re made, these can be stored in an air-tight container at room temperature for 1-2 days.
Recipe
Black Cat Cupcakes
With Oreo ears and a rich chocolate buttercream frosting, these sweet cat cupcakes are every bit as cute as they are delicious.
- Prep Time: 1 hour
- Total Time: 1 hour
- Yield: 12
- Category: Dessert
- Method: Baking
- Cuisine: American
Ingredients
- 12 cupcakes
- 1 ½ sticks (¾ cup) unsalted butter, at room temperature
- 3 cups powdered sugar
- 2 tsp vanilla
- ⅓ cup cocoa powder
- 3-4 Oreos
- Black and yellow gel food coloring
Instructions
- Make or purchase 12 cupcakes.
- In the bowl of a stand mixer, cream the butter on medium.
- Scrape down the sides and add the powdered sugar and vanilla extract.
- Beat on medium until smooth.
- Spoon a few tablespoons into a bowl and use food coloring to color yellow.
- Spoon a few tablespoons in another bowl and leave white.
- Add the baking cocoa to remaining frosting and beat until smooth. Use food coloring to color black.
- Pull apart the Oreos, remove the filling and cut into quarters. Cut an additional centimeter or two off the quarters to narrow into ear-like pieces.
- Spoon the black frosting into a piping bag with a large round tip and pipe a single layer of frosting onto the top of each cupcake.
- Place frosting-side-down onto a parchment paper lined baking sheet.
- Gently press flat.
- Slide two Oreo ears into the frosting, inserting them as close to the cupcake as possible.
- Refrigerate or freeze until firm (about 10 minutes).
- Peel from the parchment and pipe two dollops of yellow frosting (for the eyes) onto the black frosting.
- Cut rectangles of parchment and place the cupcakes frosting-side-down onto them.
- Gently press until the yellow frosting is evenly distributed and reaches the desired size for the eyes.
- Refrigerate or freeze until firm.
- Repeat the process with the eyes using black frosting (in a new piping bag with a small hole clipped in the end) to create pupils and two dots of white frosting per eye to create a reflections.
- Refrigerate or freeze between each new addition of frosting.
- Using the remaining black frosting, outline the Oreo ears with a thin line.
- Use a toothpick or quilling tool to gently press the ends of the frosting into the sides of the cupcakes.
Notes
- The secret to smooth, air-bubble free frosting: Once the frosting has come together, turn your stand mixer down to low and continue beating for about 5 minutes. This should work out most of the air bubbles.
- Using a different kind of frosting: This recipe makes a traditional American buttercream frosting. If you’d like something a little less sweet, feel free to swap it for a Swiss meringue or Italian meringue buttercream at a one to one ratio. I don’t recommend using pre-fab, store bought frosting for these cupcakes.
- Fill that piping bag like a pro: Spoon your frosting onto a large piece of plastic wrap, roll and twist the ends. Trim one end so there’s about ½” in length, drop your frosting into the piping bag (short end first) with the tip already on and pipe!
- Fixing imperfections in the initial layer of frosting: If the frosting has divots where it didn't quite fill (particularly in the center), you can use an offset spatula or butter knife to move frosting from the surrounding area into it. Return it to the parchment, frosting-side-down, and refrigerate.
- A note about the frosting eyes: Be sure not to press the yellow or white frosting too thin as the black frosting will show through if you do.
- Storing frosted cupcakes: While cupcakes are always best when eaten the same day they’re made, these can be stored in an air-tight container at room temperature for 1-2 days.
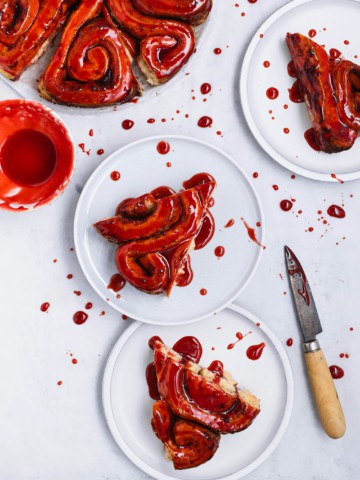
If you liked this recipe, you might also like...
Sue says
I absolutely love these!!