

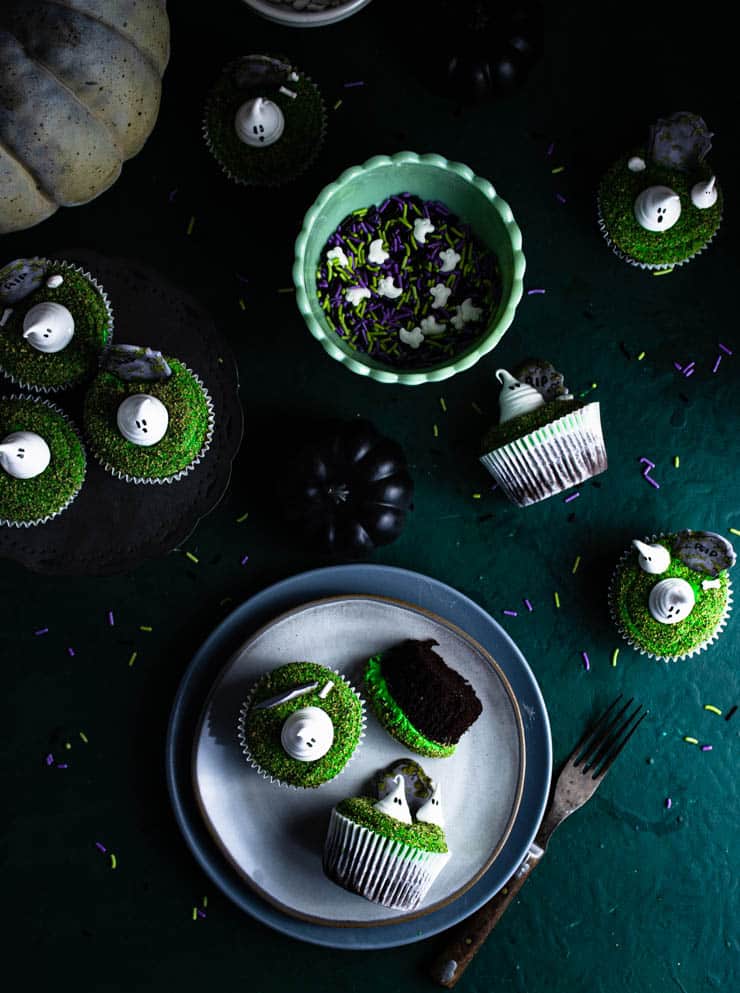
These spooktacular graveyard cupcakes are the perfect addition to your Halloween party dessert table! Utilizing store bought ingredients and an easy meringue ghost, these cupcakes come together in no time and are perfect for decorating with the kids.
Helloooooo September! And, more importantly, hello spooky season!
That's right, the proverbial wait for all things fall and all things Halloween has finally come to an end. And now that I've been emboldened perusing the aisles of Target and Michael's where Halloween things abound, I'm moving firmly into spooky treats here on the blog.
And while I hate to call it early, I'm kicking things of with what may be my favorite treat of the season: Graveyard cupcakes.
These easy Halloween cupcakes feature three of my favorite things:
-- Cute meringue ghosts (seriously, we've all seen them on Pinterest and they need to be on EVERYTHING)
-- Oodles of frosting
-- and instructions with all the tips to either make these from scratch or speed up the process with some store bought assistance
So what are you waiting for? Let's get spooky!
Prefer to watch the process?
Here's how to make these cupcakes
First, make a dozen cupcakes.
You can purchase unfrosted cupcakes from your local grocery stores, whip up a batch of your favorite box mix or make them from scratch. If you're looking for suggestions, this is my favorite chocolate cupcake recipe.
Second, you'll need about 1 ½ cups white frosting.
Any white frosting will do for this tutorial, so feel free to purchase your favorite store brand or whip up your own. Using green and yellow gel food coloring, tint the frosting green.
A note on food coloring: It's particularly important if you're using a store bought frosting to use a gel food coloring so that it doesn't make the consistency of the frosting runny. Using liquid food coloring can result in a frosting that oozes over the sides or comes off when you start dipping them in graham cracker later on.
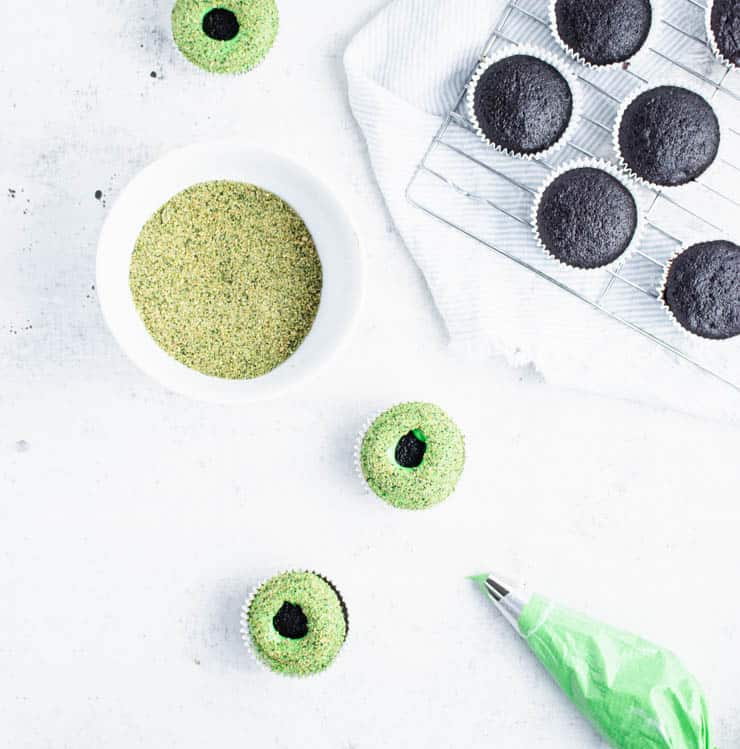
Third, crush and color the graham cracker.
Place your graham cracker in a food processor and pulse until a coarse crumb forms. Add green and yellow gel food coloring and pulse to evenly distribute the color. Repeat until the graham cracker crumb are green.
If you don't have a food processor, you can crush and dye your graham cracker by placing them in a plastic bag and going over them with a rolling pin.
Fourth, frost the cupcakes.
Spoon the green frosting into a piping bag with a medium round tip (I used a Wilton 2A) and pipe a couple layers of frosting leaving the center open.
Gently roll the tops and sides of the frosting in the crushed green graham cracker.
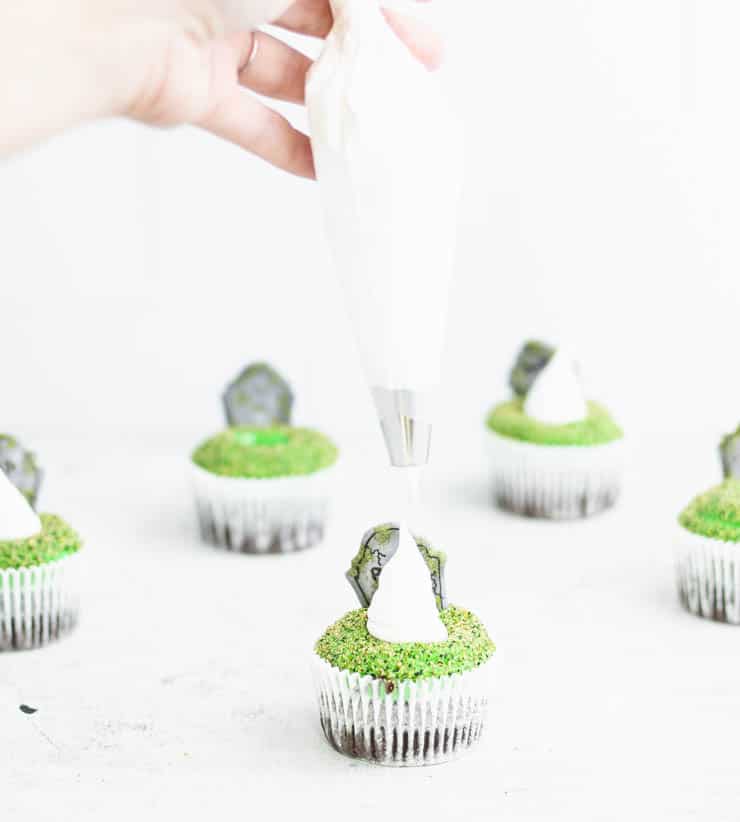
Add a royal icing headstone (you can purchase them from Wilton or make your own royal icing transfers). I added additional detail to mine using a food coloring pen and some green gel food coloring.
Optional: Add some bone and skull sprinkles (I found them at my local craft store).

Finally, make the meringue ghosts.
In a bowl, combine the sugar and egg white. Whisk until just combined and place over a pot of boiling water. Cook until the mixture is hot to the touch and the sugar has dissolved.
Whip the hot meringue until it holds a soft peak and has cooled. Add the vanilla extract and whip until just combined.
Note: If you're new to meringue and would like more information or help troubleshooting common problems, check out my comprehensive guide on meringue.
Spoon the meringue into a piping bag with a medium round tip (I used a Wilton 2A) and pipe into the center of the cupcake. Release the pressure on the piping bag and pull up as you finish piping each ghost.
Use a toothpick dipped in black gel food coloring to add eyes and mouths.
Expert tips
- Coloring frosting: For best results, I recommend coloring your frosting with gel food coloring so the frosting doesn't become too runny.
- Estimating graham cracker crumbs: I found about 1.6 oz of graham crackers made about a ½ cup of crumbs.
- If you don't have a food processor: You can crush and dye your graham cracker by placing them in a plastic bag and going over them with a rolling pin.
- Fill that piping bag like a pro: Spoon your frosting onto a large piece of plastic wrap, roll and twist the ends. Trim one end so there’s about ½” in length, drop your frosting into the piping bag (short end first) with the tip already on and pipe!
- Start with a perfectly clean bowl when making meringue: This may seem like a no-brainer but even a little bit of grease can ruin your meringue. Whatever you use, making sure it’s been thoroughly scrubbed with warm, soapy water.
- Don’t use plastics bowls to make meringue: To the point above, it’s very hard to completely remove fats from plastic bowls and kitchen utensils, which tend to develop a greasy coating over time. Instead, use a glass, metal or ceramic bowl.
- Storing frosted cupcakes: While cupcakes are always best when eaten the same day they’re made, these can be stored in an air-tight container at room temperature for 1-2 days.

Recipe
Graveyard Cupcakes with Meringue Ghosts
Featuring an easy meringue ghost, these spooktacular graveyard cupcakes are the perfect addition to your Halloween party dessert table!
- Prep Time: 30 minutes
- Total Time: 30 minutes
- Yield: 12
- Category: Dessert
- Method: Baking
- Cuisine: American
Ingredients
- 12 cupcakes
- 1 ½ cups white frosting
- ½ cup graham cracker crumbs
- Green, black and yellow gel food coloring
- 12 royal icing headstones
- 1 egg white
- ¼ cup granulated sugar
- ½ tsp vanilla extract
Instructions
- Use green and yellow food coloring to color frosting green.
- In a food processor, blend graham crackers to coarse crumbs.
- Add green and yellow food coloring and pulse to evenly distribute.
- Repeat until crumbs are a roughly the same shade of green as the frosting.
- Spoon the green frosting into a piping bag with a medium round tip (like a Wilton 2A).
- Pipe two layers of frosting onto each cupcake, leaving the center open.
- Gently roll the tops and sides in the graham cracker crumbs.
- Garnish with a royal icing headstone.
- In a bowl, combine the sugar and egg white.
- Whisk until just combined and place over a pot of boiling water.
- Cook until the mixture is hot to the touch and the sugar has dissolved.
- Whip the meringue until it holds soft peaks and has cooled.
- Add the vanilla extract and whip until just combined.
- Spoon into a piping bag with a medium round tip and pipe into the center of each cupcake.
- Use a toothpick dipped in black gel food coloring to add eyes and mouths.
Notes
- Coloring frosting: For best results, I recommend coloring your frosting with gel food coloring so the frosting doesn't become too runny.
- Estimating graham cracker crumbs: I found about 1.6 oz of graham crackers made about a ½ cup of crumbs.
- If you don't have a food processor: You can crush and dye your graham cracker by placing them in a plastic bag and going over them with a rolling pin.
- Fill that piping bag like a pro: Spoon your frosting onto a large piece of plastic wrap, roll and twist the ends. Trim one end so there’s about ½” in length, drop your frosting into the piping bag (short end first) with the tip already on and pipe!
- Start with a perfectly clean bowl when making meringue: This may seem like a no-brainer but even a little bit of grease can ruin your meringue. Whatever you use, making sure it’s been thoroughly scrubbed with warm, soapy water.
- Don’t use plastics bowls to make meringue: To the point above, it’s very hard to completely remove fats from plastic bowls and kitchen utensils, which tend to develop a greasy coating over time. Instead, use a glass, metal or ceramic bowl.
- Storing frosted cupcakes: While cupcakes are always best when eaten the same day they’re made, these can be stored in an air-tight container at room temperature for 1-2 days.
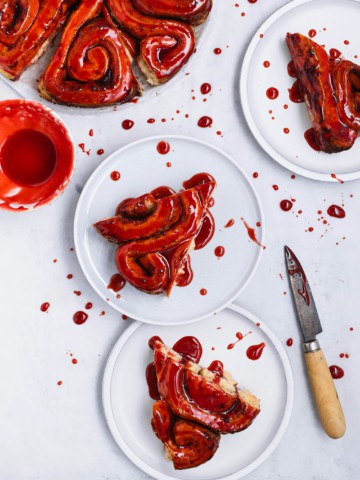
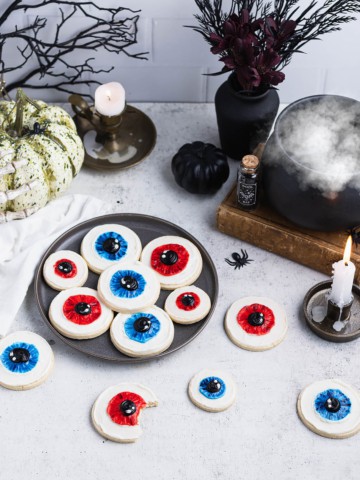
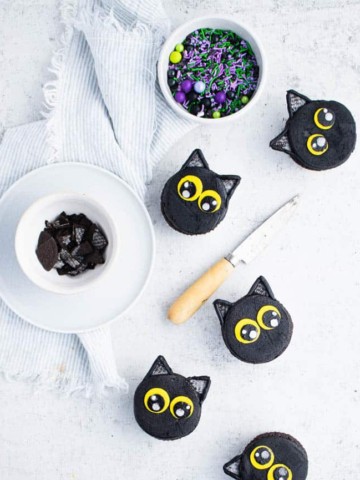
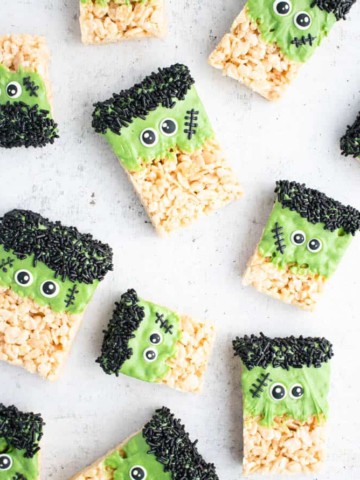
If you liked this recipe, you might also like...
Sue says
Love these!