

Your Halloween dessert table is sure to be the talk of the town with these "bloody" good brain cupcakes!
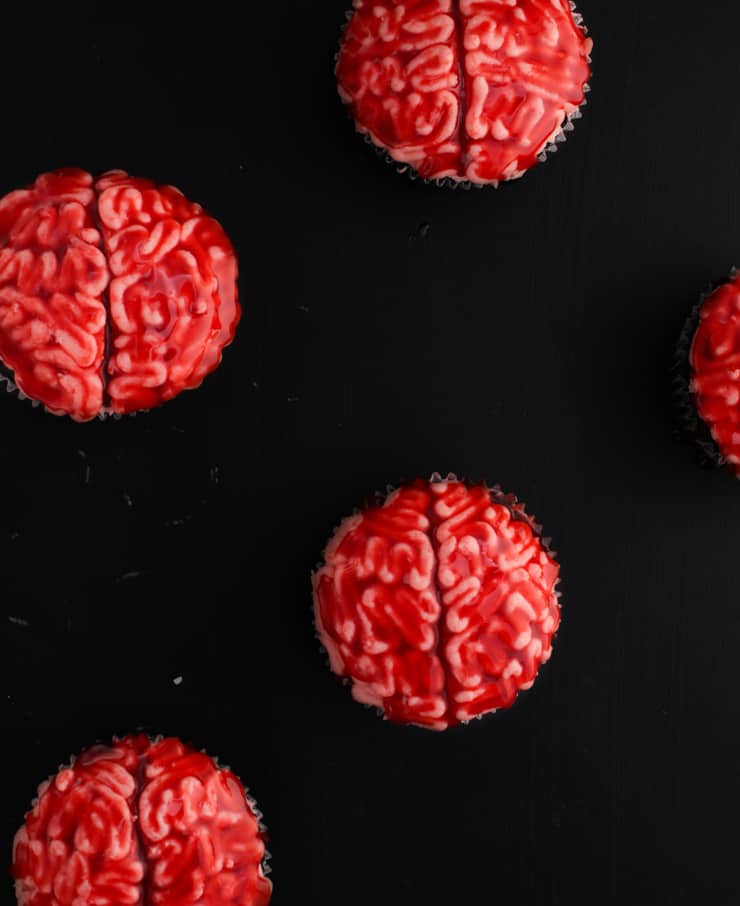
If you like Halloween treats that are equal parts "ewww" and "yuuuum", then you've come to the right place! These bleeding brain cupcakes are sure super simple to make (heck, you can make them with store bought cupcakes and frosting) and will slowly bleed for that freshly harvested brain effect. But watch out, the corn syrup blood will eventually bleed off these cupcakes so they're best served immediately.
How to make brain cupcakes
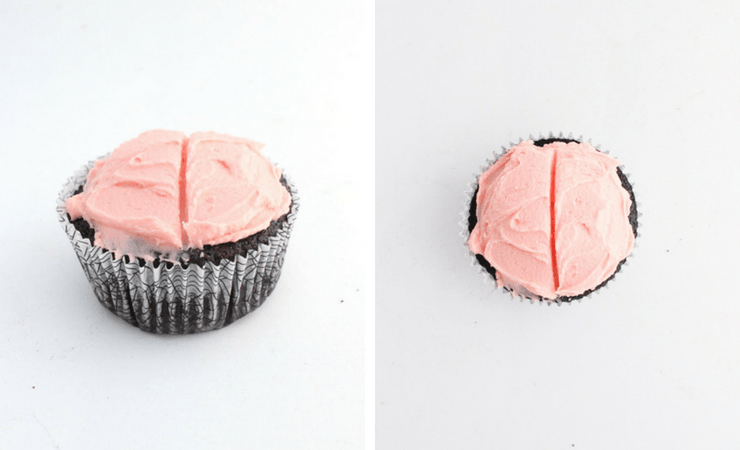
First, tint your frosting pink. Spoon half of it into a piping bag with a small round tip on the end and use the other half to frost your cupcakes with a slight dome of frosting.
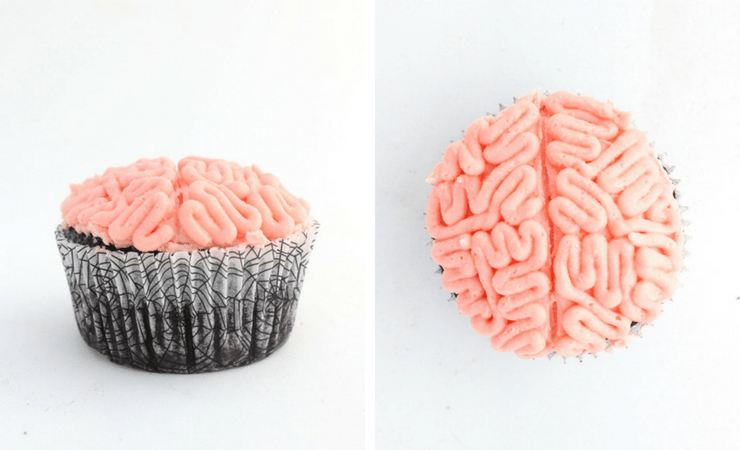
Second, piping some squiggly brain wrinkles onto the top of you cupcakes.
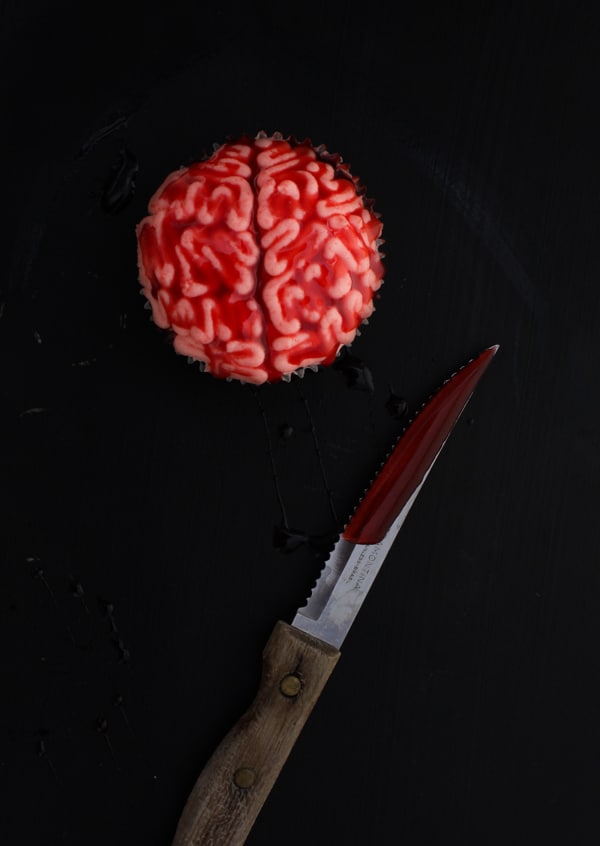
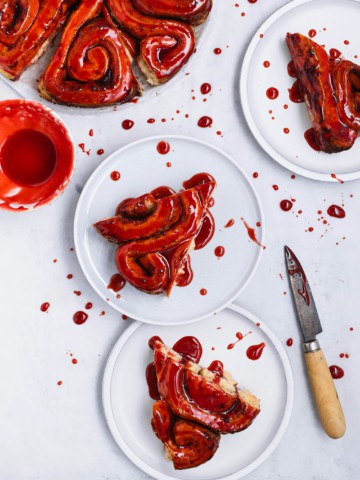
Finally, mix up your blood and start drizzling!
How to make the perfect brain cupcakes
- Remember, no two brains are alike, nor are they perfect. Play around with your brain wrinkle pattern until you get a look you like. Don't be afraid to scoop the frosting off and start over if you're not satisfied.
- Because the "blood" has a tendency to slowly run off the cupcakes, you can increase the amount of time it takes by freezing the cupcakes until the frosting is hard (about 5 minutes) before drizzling.
Did you make this recipe? I’d love to hear how it went in the comments below. Better still, snap a photo and tag it on Instagram with #thesimplesweetlife. I love seeing your creations!
PrintRecipe
Braaaaaains (Cupcakes)!

Your Halloween dessert table is sure to be the talk of the town with these "bloody" good brain cupcakes!
- Prep Time: 15 minutes
- Total Time: 15 minutes
- Yield: 12 cupcakes
- Category: Dessert
- Cuisine: American
Ingredients
- 12 cupcakes
- 2 cups frosting
- Red food gel coloring
- ¼ cup light corn syrup
- 1 tbsp baking cocoa
Instructions
- Color your frosting pink and spoon about half of it into a piping bag with a small round tip. Use the remaining frosting to frost your cupcakes with a dome shape.
- With the tip of an offset spatula or butter knife, make a line down the center of your frosting (this will be the center line of your brains).
- Pipe a winding pattern of frosting on each side of the center line to create the brain wrinkles.
- No two brains are alike nor are they perfect, so play around with this part. Just be careful not to push down too much while you're piping because you don't want to flatten down the frosting wrinkles.
- In a small bowl, stir together your corn syrup, baking cocoa, and a few drops of red food coloring. Drizzle or dip the tops of the cupcakes with the corn syrup "blood."
- Serve immediately (the corn syrup "blood" has a tendency to slowly run so the cupcakes will look less bloody the longer they sit).
Notes
- Remember, no two brains are alike, nor are they perfect. Play around with your brain wrinkle pattern until you get a look you like. Don't be afraid to scoop the frosting off and start over if you're not satisfied.
- Because the "blood" has a tendency to slowly run off the cupcakes, you can increase the amount of time it takes by freezing the cupcakes until the frosting is hard (about 5 minutes) before drizzling.
Nutrition
- Serving Size: 1 cupcake
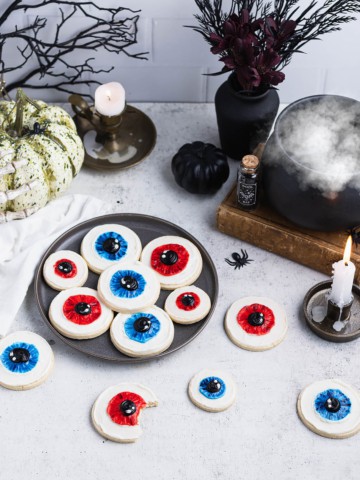
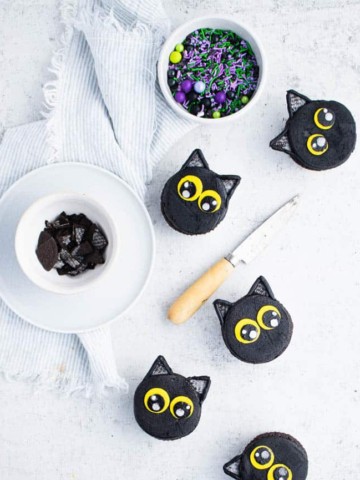
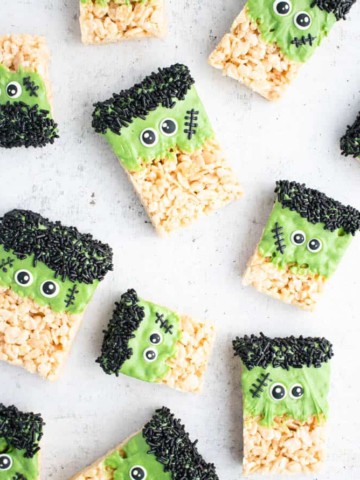
Did you like this recipe? You might also like...
Update Notes: This post was originally published in October of 2015 but was republished with step by step photos and tips in September of 2018.
Sinead says
These look amazing! Also kind of disgusting but I mean that in the best possible way 🙂 Such a fun idea for Halloween!
The Simple, Sweet Life says
With these cupcakes, I'll definitely take disgusting as a compliment. 😉
angelinepeterman says
Oh my gosh! I am part of the second group of people BUT I cannot deny that these look awesome and I am totally thinking of doing this for my kids 🙂 They would get a kick out of it!
The Simple, Sweet Life says
Come to the dark side Angeline! We have really awesome (albeit slightly creepy) cupcakes! 😉
has2run says
I would totally make those. I always wonder what people were thinking when they came up with some of these ideas. Thanks
bakingrunner.blogspot.com
The Simple, Sweet Life says
I can't speak for everyone, but I was definitely thinking, "I've made some fun Halloween stuff, some cute stuff... now how can I work in some scare-the-crap-out-of-your-friends stuff..."
MyYellowApron says
They actually look amazing to me. Perfect for Halloween.
The Simple, Sweet Life says
Thank you! 😀
Kathy @ Beyond the Chicken Coop says
Ewwww.....they are perfectly gross! The kids would love 'em! 🙂
The Simple, Sweet Life says
Perfectly gross? Best Halloween compliment ever! 😀
annelawton says
I am from group 2 but love this idea!
The Simple, Sweet Life says
Thank you Anne! 🙂
Leah says
Haha! These are so gross, but I mean that in the best way! They are great!
The Simple, Sweet Life says
Pretty sure "gross" is the best Halloween food-related compliment. 😉 I'll take it!
Abra Pappa says
So cute and creepy!
The Simple, Sweet Life says
Thank you! 😀
Maeve Kennedy Grimes says
I was afraid of too much running blood, so injected it in the middle and if just gushed a bit when people bit in...they loved it.
Nicole says
These look great! What size piping tip did you use for the squiggles?
Claire | The Simple, Sweet Life says
Hi Nicole! I often use tipless piping bags so I can cut the tip to whatever size I need. In the case of these cupcakes, I cut the tip to about 1/8" - 3/16". That would probably be pretty close to a Wilton #4 or 5 round tip.