
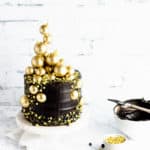
Your New Year's Eve is sure to be all sorts of glam with this black and gold cake! Learn how to make golden chocolate spheres, color black frosting and assemble your cake in this step-by-step tutorial.

Disclaimer: Fancy Sprinkles provided me with some of the products I used to make this cake, but all words and thoughts are my own.
That's it folks. It's almost 2019. TWENTY. NINETEEN.
Where the heck has 2018 gone? And more importantly, why is 2020 so close already?? Seriously guy, seriously. But whether you're as disoriented as I am about the fact that we're already to the annual changing of the years, I think we can all agree that the best way to ring in the coming year is with a little bit of glam... and a-whole-lot of cake!
How to make this New Year's Eve cake
First, start with three 6" layers of cake. If you don't have a favorite chocolate cake recipe, I highly recommend this one from my fudge sundae cake.
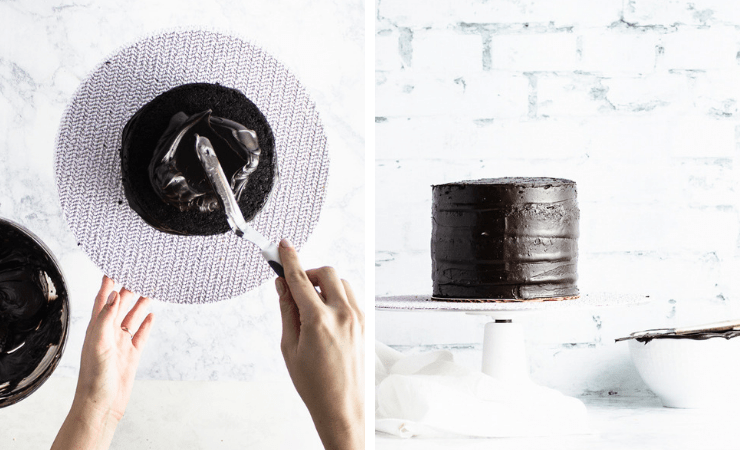
Second, color your chocolate frosting black. This can require a lot of black food coloring, even if you use a high quality gel, so be prepared to stick it in the refrigerator to firm up.
Level your cakes if they need it and spread about ½" of frosting between each layer. Coat the outside with a thin layer (crumb coat) and allow to set up in the refrigerator (about 10-15 minutes).
Once the crumb coat has chilled, use the remaining frosting to cover the rest of the cake.
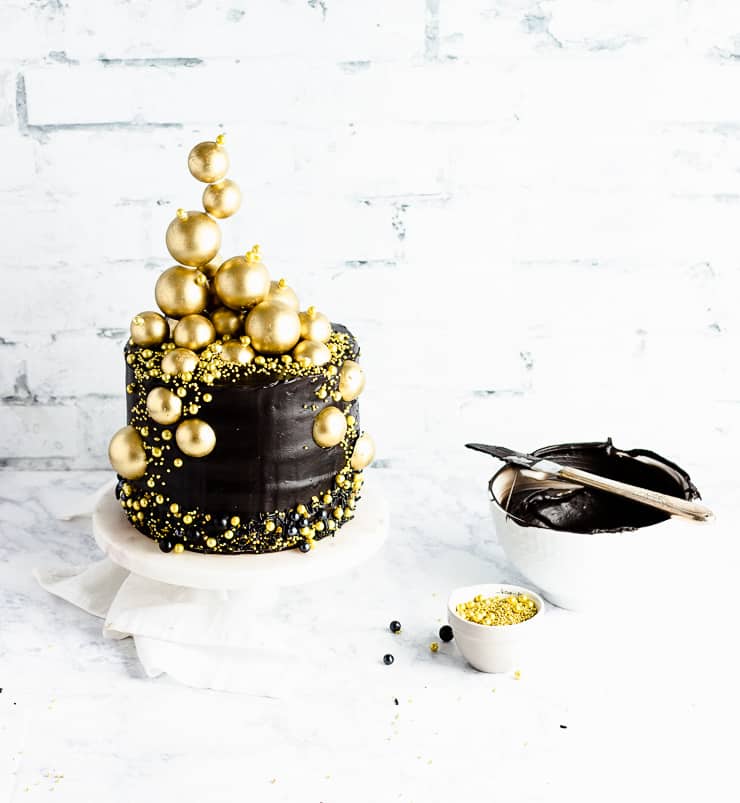
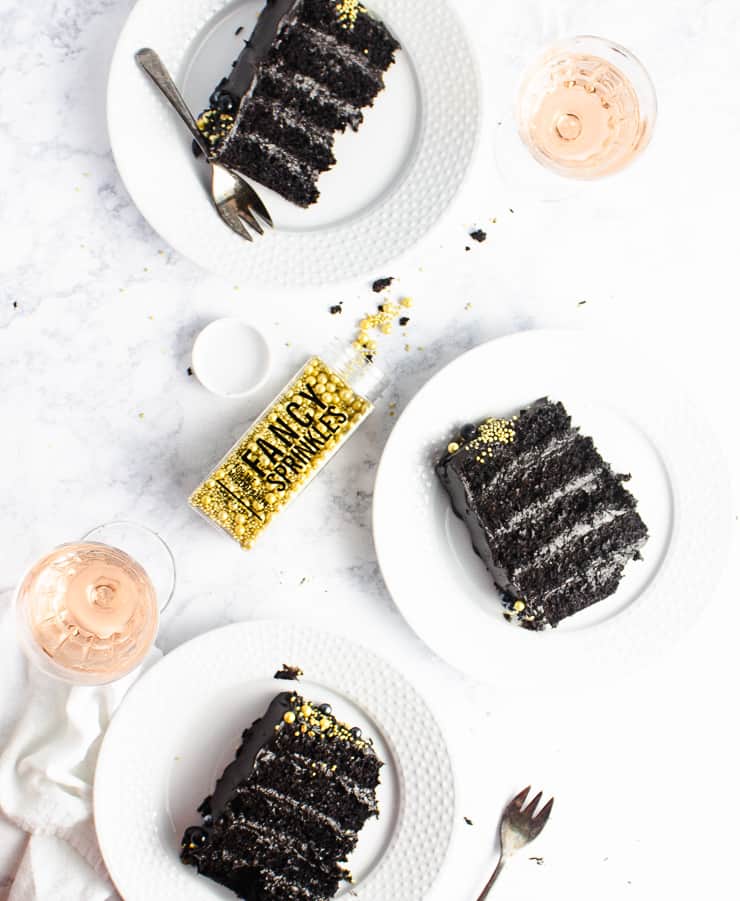
Add some extra glam by pressing some Fancy Sprinkles in Black Widow onto the bottom half of the cake.
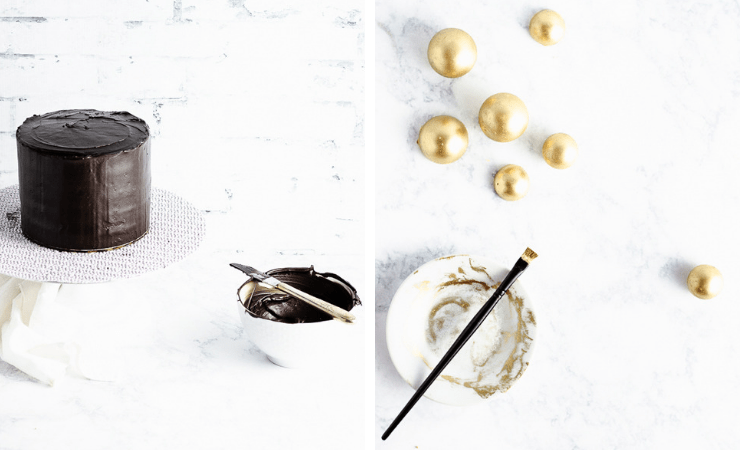
Third, create your gold spheres. Melt your yellow candy melts in the microwave. I like to microwave mine for 30 seconds and then follow with 10 second increments until they stir smooth.
Using a 1"and a 1 ½" sphere mold, fill the candy molds with the melted yellow candy melts. Turn the molds upside down over a piece of parchment and gently shake until the excess candy melts drip out.
Use a bench scraper to scrape any residual candy melts from around the mold opening and allow to harden in the refrigerator until firm (about 10 minutes).
Fourth, remove the half spheres from the molds. To put them together, heat a pan over low heat, gently rub the open of two half spheres on the pan until they begin to melt and then press them together.
Use your finger to remove any candy melt that may squeeze out around the edges.
Mix your gold powdered food coloring with a few drops of vodka and paint your spheres gold.
Finally, add the spheres to the cake by gently pressing them into the soft frosting. To build the spheres up on top of each other, use any remaining melted candy melts to "glue" them together. Garnish with Fancy Sprinkles in Metallic Golden Dragee Melange.
How to make and frost the perfect cake
- Measure your batter: Making even layers of cake start with measuring your batter. For the fudge sundae cake recipe, that means about roughly 1lb of batter per pan (for three pans).
- Chill your cake: Cold cake is easier to cut and handle, so chilling your cake for a short while before use will make this process easier.
- To get really black frosting you have to add a lot of black food coloring (even with chocolate frosting). This will change the consistency of your frosting and may make it too soft to use initially. If this happens, simply refrigerate it for 30-45 minutes until it’s firmed up.
- Crumb coat: Spreading a thin layer of frosting around the sides and top of the cake, and then refrigerating it will lock in any crumbs and keep them from reaching the surface of your frosted cake.
- The trick for smooth frosting: You’ll need a rotating cake stand and a bench scraper. Place the small end of the bench scraper on the cake stand, long end against the frosting and turn the table. Once excess frosting is removed, heat the scraper in hot water, wipe and drag around the outside of the cake.
- Storage: This cake will keep at room temperature, uncut, for 3-4 days. For best results, cover it with a plastic lid, bowl or place it in a cardboard box. Putting your cake in the refrigerator can result in a drier cake.
- Storing cut cake: Once your cake is cut, you’ll want to protect the exposed cake area. The easiest way to do this is with a piece of plastic wrap or two.
Did you make this recipe? I’d love to hear how it went in the comments below. Better still, snap a photo and tag it on Instagram with #thesimplesweetlife. I love seeing your creations!
PrintRecipe
Glam New Year's Eve Cake

Your New Year's Eve is sure to be all sorts of glam with this black and gold cake! Learn how to make golden chocolate spheres, color black frosting and assemble your cake in this step-by-step tutorial.
- Prep Time: 2 hours
- Total Time: 2 hours
- Yield: 12 slices
- Category: Dessert
- Cuisine: American
Ingredients
- 3 six inch layers of chocolate cake
- 4 ½ cups chocolate frosting
- black gel food coloring
- 10 oz yellow candy melts
- gold powdered food coloring
- Black Widow and Metallic Golden Dragee Melange sprinkles from Fancy Sprinkles
Instructions
- Start with three 6" layers of cake. If you don't have a favorite chocolate cake recipe, I highly recommend this one from my fudge sundae cake.
- Color your chocolate frosting black. This can require a lot of black food coloring, even if you use a high quality gel, so be prepared to stick it in the refrigerator to firm up.
- Level your cakes if they need it and spread about ½" of frosting between each layer. Coat the outside with a thin layer (crumb coat) and allow to set up in the refrigerator (about 10-15 minutes).
- Once the crumb coat has chilled, use the remaining frosting to cover the rest of the cake.
- Add some extra glam by pressing some Fancy Sprinkles in Black Widow onto the bottom half of the cake.
- To create your gold spheres, melt your yellow candy melts in the microwave. I like to microwave mine for 30 seconds and then follow with 10 second increments until they stir smooth.
- Using a 1"and a 1 ½" sphere mold, fill the candy molds with the melted yellow candy melts.
- Turn the molds upside down over a piece of parchment and gently shake until the excess candy melts drip out.
- Use a bench scraper to scrape any residual candy melts from around the mold opening and allow to harden in the refrigerator until firm (about 10 minutes).
- Remove the half spheres from the molds. To put them together, heat a pan over low heat, gently rub the open of two half spheres on the pan until they begin to melt and then press them together.
- Use your finger to remove any candy melt that may squeeze out around the edges.
- Mix your gold powdered food coloring with a few drops of vodka and paint your spheres gold.
- Add the spheres to the cake by gently pressing them into the soft frosting.
- To build the spheres up on top of each other, use any remaining melted candy melts to "glue" them together. Garnish with Fancy Sprinkles in Metallic Golden Dragee Melange.
Notes
- Measure your batter: Making even layers of cake start with measuring your batter. For the fudge sundae cake recipe, that means about roughly 1lb of batter per pan (for three pans).
- Chill your cake: Cold cake is easier to cut and handle, so chilling your cake for a short while before use will make this process easier.
- To get really black frosting you have to add a lot of black food coloring (even with chocolate frosting). This will change the consistency of your frosting and may make it too soft to use initially. If this happens, simply refrigerate it for 30-45 minutes until it’s firmed up.
- Crumb coat: Spreading a thin layer of frosting around the sides and top of the cake, and then refrigerating it will lock in any crumbs and keep them from reaching the surface of your frosted cake.
- The trick for smooth frosting: You’ll need a rotating cake stand and a bench scraper. Place the small end of the bench scraper on the cake stand, long end against the frosting and turn the table. Once excess frosting is removed, heat the scraper in hot water, wipe and drag around the outside of the cake.
- Storage: This cake will keep at room temperature, uncut, for 3-4 days. For best results, cover it with a plastic lid, bowl or place it in a cardboard box. Putting your cake in the refrigerator can result in a drier cake.
- Storing cut cake: Once your cake is cut, you’ll want to protect the exposed cake area. The easiest way to do this is with a piece of plastic wrap or two.


Nicoletta De Angelis Nardelli says
Such a fancy, gorgeous cake to celebrate the New Year! I also love those sprinkles, and well, the spheres are just amazing! Your cakes are always a delight to the eye and, I bet, the palate 🙂 .
Sue says
This is over the top GORGEOUS and very elegant! And I'm sure it tastes amazing 🙂
Analida Braeger says
What a gorgeous cake! I love the contrasting colors. A layer cake is always great for some wow factor too. Thanks for sharing!
Marisa Franca says
This is one gorgeous cake. What a way to end the year and then a fantastic way to start the year. Chocolate is so festive and then the sprinkles add the glamorous touch for New Years Eve. Whoo Hoo!! Happy New Year.
Veena Azmanov says
This looks so delicious and so fancy. I love how you paired the black and gold. Sounds so good. Saving this for later.
Sherri says
Absolute gorgeousness! Your artistry is amazing! Love the black and gold together! So perfect for celebrating a new year to come! Hope yours is awesome! 🙂
Anne Lawton says
That is one beautiful cake! It almost looks to pretty to eat!
Kiki Johnson says
GLAM indeed. This is one great looking chocolate cake! I would be so proud to serve this to my guests for New Year's Eve!
Tammy says
You my dear are an artist! This is absolutely stunning! What a beautiful cake to celebrate the New Year with 😀 Wish I were going to your party!
Sri Mallya says
Wow! Such a gorgeous cake for new year's eve. I wish I could grab a slice right now.
Amanda Mason says
What an absolutely beautiful cake! You seriously make it look so easy! And seriously...I can't tell you how important that chill step is! Such a helpful post! Happy 2019!
Monica | Nourish + Fete says
What a show stopping cake! I love how you made the spheres totally edible, too- this would be a stunning centerpiece for any NYE party!
Nicole says
This is a beautiful cake. I wouldn't even try to make this cake because it looks so pretty. But I will definitely take a slice!