
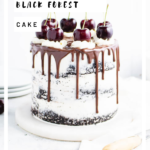
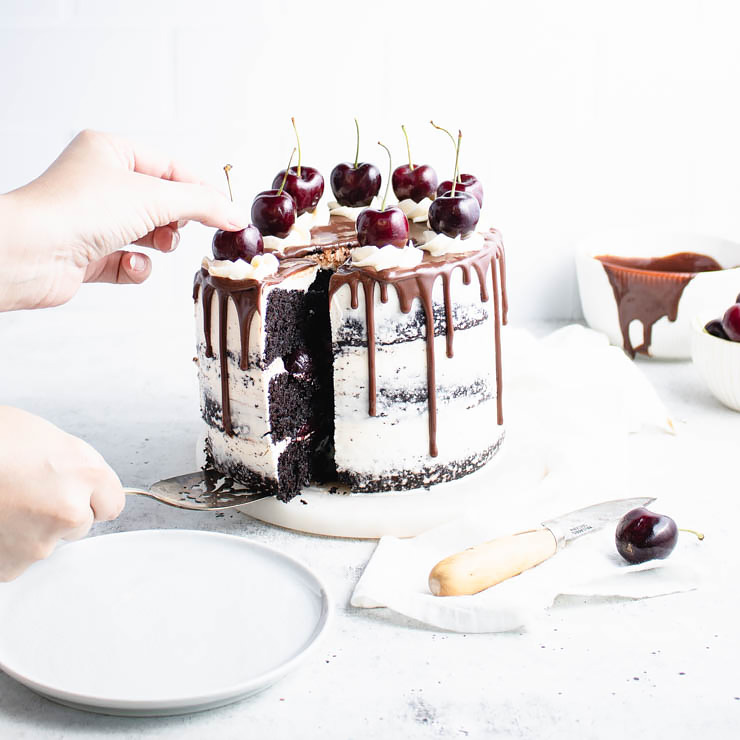
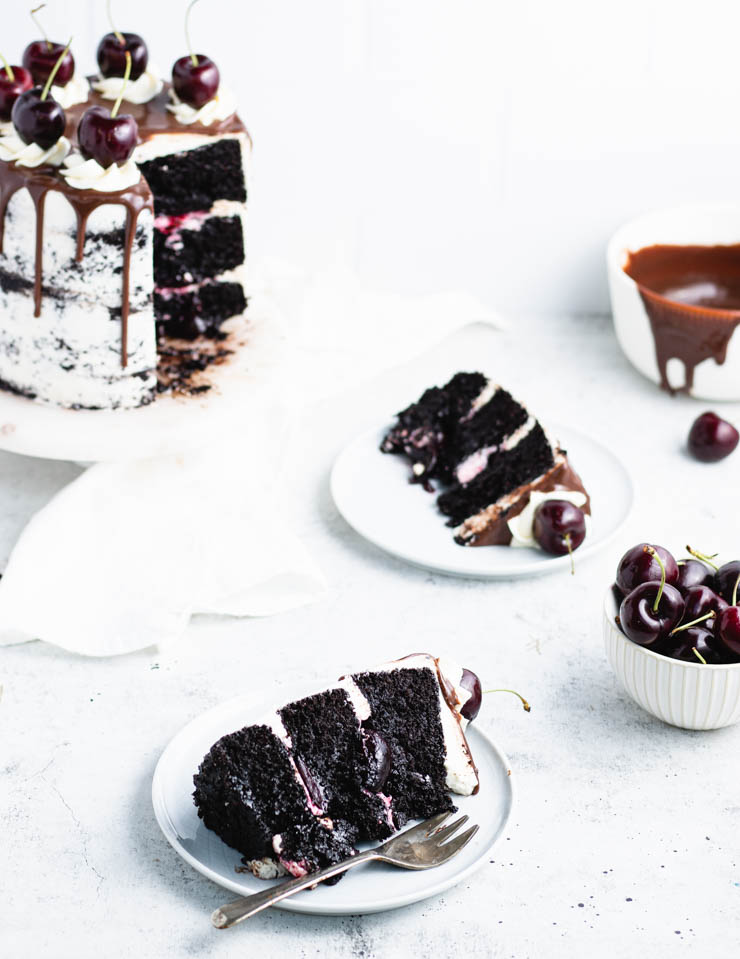
This homemade black forest cake takes chocolate cherry cakes to a whole new level! Pairing three layers of dark chocolate cake, a boozy cherry compote filling, velvety vanilla buttercream and a rich chocolate ganache drip, this cake strikes the perfect balance between rich and sweet.

Cherry season is officially here and I can think of no better way to celebrate than with a decadently chocolate cake filled with brandied cherries.
Are you in or are you in??
Here's how to make this cake
First, make the chocolate cake.
In a small bowl, combine the boiling water and chocolate. Stir until the chocolate is melted and set aside to cool.
In a bowl, whip the eggs and sugar until light and frothy (about 2 minutes). It’s important to give the egg/sugar mixture the benefit of a full whipping here as this is part of what will help your cake rise and give it that fluffy texture.
Add the vegetable oil and continue whipping (on low) until just combined.
Add the milk and the water/chocolate mixture and, again, whip on low until just combined.
Gently stir in the baking cocoa, flour, baking soda and baking powder until the batter is lump free.
Divide the batter evenly between three greased and parchment paper lined 6" round cake pans. I like to weigh my layers to make sure the batter is distributed as evenly as possible. For this recipe, you'll want just about 15oz per layer.
Bake at 350F for 30-35 minutes, or until a toothpick inserted in the center of the cakes comes out mostly clean.
Once the pans are cool enough to handle, turn the cakes out onto plastic wrap, cover and refrigerate until cool and firm. Chilled cakes are easier to cut, handle and frost.
Second, make the cherry compote.
Pit and halve your cherries. In a small saucepan over medium heat, combine the pitted cherries, sugar and brandy.
A note on brandy substitutions: If you're not a fan of brandy you can substitute an alcohol of your choosing at a 1:1 ratio. Want to make it alcohol free? Simply use orange juice in its place.
Bring to a boil and then reduce to a simmer. Stirring occasionally, cook the compote for about 10 minutes or until the juice is thick and syrupy.
Remove the compote from the heat and allow to cool until at least room temperature before using.
Third, make the frosting.
In a small saucepan, stir together the water and sugar. Over medium-high heat, cook the syrup until it boils and becomes completely clear.
While the syrup boils, whip the egg whites in a stand mixer until stiff. If the eggs stiffen before the syrup is ready, simply reduce the speed of the mixer to low and continue gently whipping.
With the mixer on high, slowly pour the hot syrup down the side of the bowl and into the egg whites. It's important to have the mixer on high so keep the egg whites move so they don't get chunky while they cook. Whip the meringue until it cools to room temperature.
Turn the mixer down to low and add the butter in ½" cubes along with the vanilla extract. Slowly increase the speed until you reach high, and then whip until a smooth frosting forms.
A note about meringue buttercreams: It's not uncommon for these kinds of frostings to look curdle during the whipping process and it simply means they require more whipping.
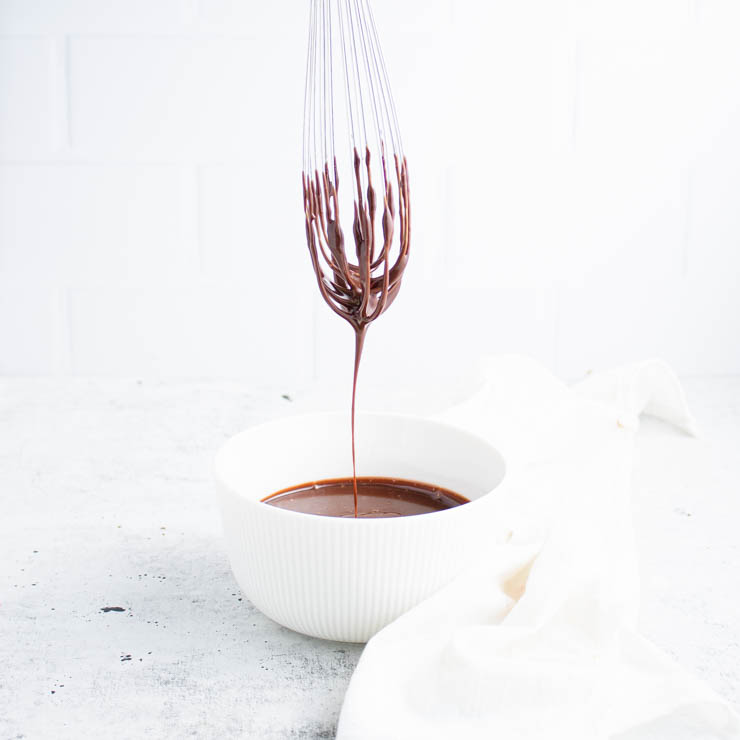
Fourth, make the ganache.
In a small saucepan or the microwave, heat the heavy whipping cream until hot (but not boiling). Pour it over the chocolate and allow it to sit for a few minutes.
Using a whisk or a silicone spatula, stir the ganache smooth. If you're having a hard time getting it smooth, it may need just a little more heat. I like to microwave mine using 10 second increments when this happens.
Allow the ganache to sit for 10-20 minutes, or until it cools to just above room temperature.
Finally, assemble your cake.
If necessary, level the tops of your layers of cake using a large serrated knife.
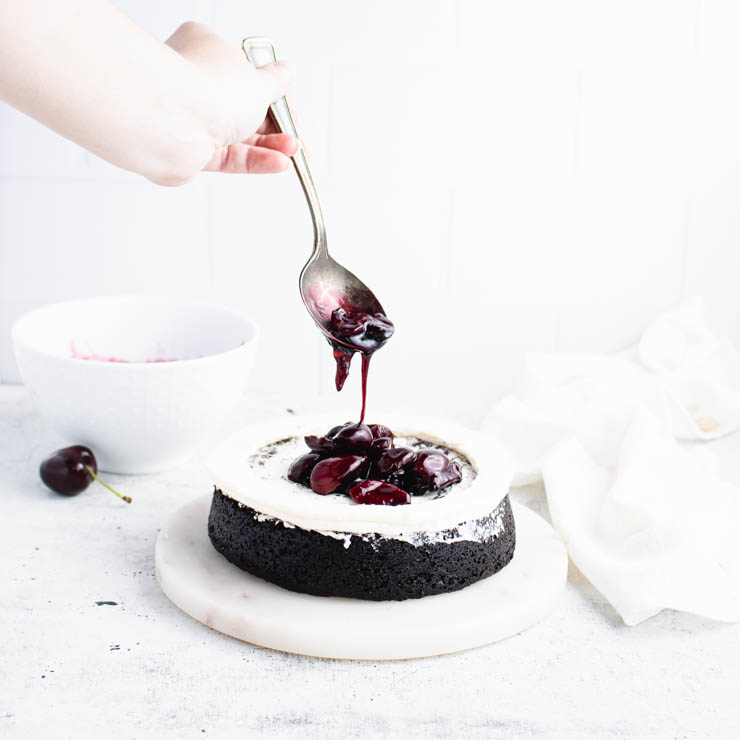
Spread a thin layer of frosting over the top of the first layer of cake (just enough to lock in the crumbs and seal the cake from the softening effects of the compote) and pipe a ring of frosting around the edge.
Spoon half of the compote into the center of the cake. Top with the second layer of cake and repeat.
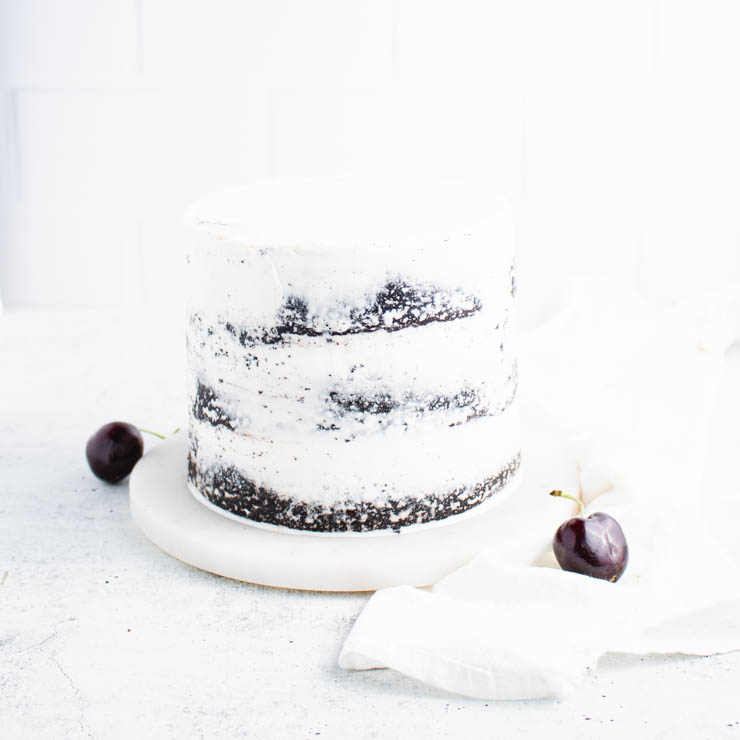
Once all of the layers are stacked, spread a thin layer of frosting around the sides and over the top of the cake.
If you're new to frosting and assembling cakes and would like a more detailed walk-through, I highly recommend checking out my post on how to frost a cake.
Pour the ganache over the top of the cake and use an offset spatula to spread it to the edge and over the side. If you'd like to add more drips or place them in specific spots, you can pour the remaining ganache into a piping bag and add additional drips where you'd like.
Using the remaining frosting, pipe swirls onto the top of the cake and garnish with cherries.
Expert tips
- Getting even cake layers: I've found the best way to get even layers of cake is to weigh your batter when dividing it. For this recipe, you'll need about 15oz of batter per 6" round cake pan.
- Working ahead: The cake layers can be made, wrapped in plastic wrap and frozen for up to 3 months. They can even be frosted frozen, but you won’t want to level or divide them while frozen.
- Chill your cake: A cool cake is easier to cut and handle, so chilling your cake for a short while before frosting it will help make the cake decorating process easier.
- Fixing a “broken” meringue-based buttercream: Sometimes you’ll find that your buttercream looks “broken” or curdled. There are usually two culprits: Either it hasn’t been beaten long enough or the frosting is too warm (either from the butter being too warm or being added to the meringue too early). If continue to beat it doesn’t work, try putting it in the refrigerate for 30 minutes to cool, then continue beating.
- Air bubble-free frosting: If your frosting has a lot of air bubbles in it, beat it on the lowest speed for 3-5 minutes to work them out.
- Storage: This cake will keep in the refrigerator, uncut, for 2-3 days.
- Storing a cut cake: Once your cake is cut, you’ll want to protect the exposed part. The easiest way to do this is to place a piece of plastic wrap directly onto the exposed cake.
- Serving cake: Temperature affects food and cold foods tend taste less sweet and flavorful. I recommend serving this cake at room temperature.
Did you make this recipe? I’d love to hear how it went in the comments below. Better still, snap a photo and tag it on Instagram with #thesimplesweetlife. I love seeing your creations!
PrintRecipe
Black Forest Cake Recipe
Pairing three layers of dark chocolate cake, a boozy cherry compote filling, velvety vanilla buttercream and a rich chocolate ganache drip, this cake strikes the perfect balance between rich and sweet.
- Prep Time: 1 hour
- Cook Time: 35 minutes
- Total Time: 1 hour 35 minutes
- Yield: 16 slices
- Category: Dessert
- Method: Baking
- Cuisine: American
Ingredients
For the chocolate cake:
- 1 cup boiling water
- 2 oz dark chocolate, coarsely chopped
- 2 eggs
- ½ cup vegetable oil
- 2 cups granulated sugar
- 1 cup milk
- 4 oz baking cocoa
- 1 ¼ cup all purpose flour
- 1 tsp baking soda
- ½ tsp baking powder
For the brandy cherry compote:
- ½ lb cherries + extra for garnishing
- 1 tbsp granulated sugar
- 2 tbsp brandy
For the vanilla frosting:
- ¼ cup water
- ¾ cup granulated sugar
- 4 egg whites
- ½ lb unsalted butter, at room temperature
- 2 tsp vanilla extract
For the ganache drip:
- ¼ cup heavy cream
- ¼ cup semi-sweet chocolate chips
Instructions
- In a small bowl, combine the boiling water and dark chocolate for the cake. Stir until the chocolate is melted and set aside.
- In the bowl of a stand mixer, whip the eggs and sugar until light and frothy (about 2 minutes).
- Add the vegetable oil and continue whipping until completely incorporated.
- Add the milk, and water/chocolate mixture, and whisk until just combined.
- Gently whisk in the baking cocoa, flour, baking soda, and baking powder until the batter is lump free.
- Divide the cake batter evenly between three 6″ cake pans, and bake at 350F for 30-35 minutes, or until a toothpick inserted into the center of the cakes comes out mostly clean.
- Once the pans are cool enough to handle, transfer the cakes to plastic wrap, and refrigerate until cool and firm.
- Pit and halve the cherries.
- In a small saucepan over medium heat, combine the cherries, sugar and brandy for the compote.
- Bring to a boil.
- Reduce to a simmer and cook, stirring occasionally, for about 10 minutes or until the juice is thick and syrupy.
- To make the frosting, stir together the water and granulated sugar in a small saucepan over medium-high heat.
- Boil until completely clear.
- While the syrup boils, whip the egg whites in a stand mixer until stiff.
- With the mixer on high, slowly pour the hot syrup down the side of the bowl.
- Whip until the mixture and bowl cool to room temperature.
- With the mixer on low, add pieces of butter until all the butter has been added.
- Add the vanilla extract. Increase the speed to high and whip until a smooth frosting forms.
- Heat the heavy cream for the ganache until hot.
- Pour over the chocolate and whisk until smooth.
- Once the cakes are cool, level the tops if necessary.
- Spread a thin layer of frosting over the first layer of cake and pipe a ring around the edge.
- Fill with half of the cherry compote.
- Top with the second layer of cake and repeat.
- Spread a thin layer of frosting around the sides and top of the cake.
- Spread over the top of the cake and allow to drip down the sides.
- Pipe swirls of frosting onto the cake and garnish with fresh cherries.
Notes
- Getting even cake layers: I've found the best way to get even layers of cake is to weigh your batter when dividing it. For this recipe, you'll need about 15oz of batter per 6" round cake pan.
- Working ahead: The cake layers can be made, wrapped in plastic wrap and frozen for up to 3 months. They can even be frosted frozen, but you won’t want to level or divide them while frozen.
- Chill your cake: A cool cake is easier to cut and handle, so chilling your cake for a short while before frosting it will help make the cake decorating process easier.
- Fixing a “broken” meringue-based buttercream: Sometimes you’ll find that your buttercream looks “broken” or curdled. There are usually two culprits: Either it hasn’t been beaten long enough or the frosting is too warm (either from the butter being too warm or being added to the meringue too early). If continue to beat it doesn’t work, try putting it in the refrigerate for 30 minutes to cool, then continue beating.
- Air bubble-free frosting: If your frosting has a lot of air bubbles in it, beat it on the lowest speed for 3-5 minutes to work them out.
- Storage: This cake will keep in the refrigerator, uncut, for 2-3 days.
- Storing a cut cake: Once your cake is cut, you’ll want to protect the exposed part. The easiest way to do this is to place a piece of plastic wrap directly onto the exposed cake.
- Serving cake: Temperature affects food and cold foods tend taste less sweet and flavorful. I recommend serving this cake at room temperature.
Chocolate cake recipe adapted from Miette
Nutrition
- Serving Size: 1 slice
- Calories: 436
- Sugar: 39.4g
- Sodium: 196mg
- Fat: 24g
- Saturated Fat: 12.1g
- Carbohydrates: 55.4g
- Fiber: 3g
- Protein: 5.3g
- Cholesterol: 59mg
If you liked this recipe, you might also like...
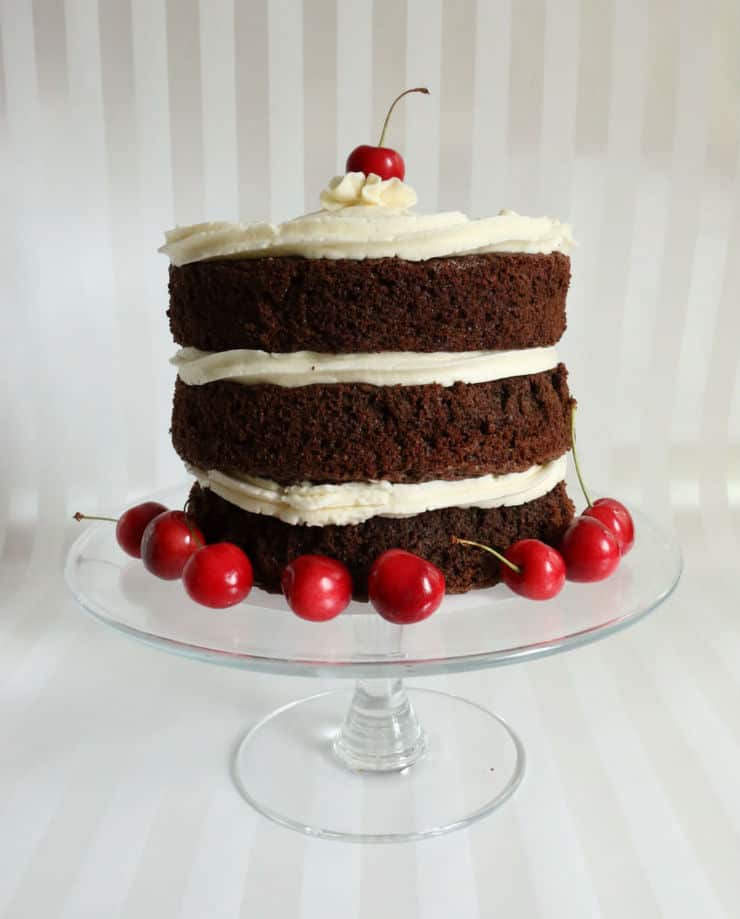
Update Notes: This post was originally published in July of 2014 but was republished with an updated format and tips in June of 2022.
Oh hey! You made it to the bottom of the post. Wow, congratulations on completing that cake journey.
And speaking of which, I've had quite the cake journey myself. You see, I started baking cakes and taking photos for this blog back in 2012 and while I think it's important to update my blog with better versions of my favorite recipes, I hate getting rid of how far I've come over the years.
Not because I don't want to burn the old photos with fire (because really, I'd like nothing better) but because it's so easy to compare the beginning of your journey to the middle of someone else's. I know I sure did when I was starting out.
So in that spirit, please the circa 2014 version of this cake.
Yes that's a wrapping paper background. No, I don't know what I was thinking.


Pink Wings says
Mmm this looks so yummy! I will definitely check out Miette next time I'm in San Fran. But if you go back, you need to try Dandelion and Tartine! They are my absolute favs. Thanks for the awesome recipe~
Gina
Pink Wings
The Simple, Sweet Life says
I actually JUST read about Dandelion and Tartine (of course, after we'd come back). But they're definitely on my list of places to go now, and it's good to know they're as good as the article said they were. 🙂 By the way, your Lemon Berry Eclairs look divine!
MRKT (@thisismrkt) says
Oh. My. Gosh.
I do believe I will be making this for myself pronto
p.s. beautiful photos!
The Simple, Sweet Life says
Thank you! I hope you enjoy it! 🙂
liztiptopshape says
SO gorgeous!!!
The Simple, Sweet Life says
Thank you! 🙂
Baby June says
That looks delish! Pinned. 🙂
The Simple, Sweet Life says
Thank you! And thanks for pinning! 🙂
Simply Kendall Rose says
That looks so delicious! Definitely trying this!!
The Simple, Sweet Life says
Thank you! I hope you enjoy it! 🙂
Carrie Groneman says
This is so gorgeous! Featured on my fb page. Thanks for linking up at Wonderful Wed Blog Hop. Carrie, A Mother's Shadow
The Simple, Sweet Life says
Thanks so much for the Facebook feature! And thanks so much for hosting a fantastic link party each week! 🙂
Ana Lopes says
Wow!!! This is a fabulous cake!
Hope you have a wonderful weekend!
Hugs from Portugal,
Ana Love Craft
http://www.lovecraft2012.blogspot.com
The Simple, Sweet Life says
Thank you! I hope you have a wonderful weekend too! 🙂
Pure Grace Farms says
Stopping by from the Wonderful Wednesday Blog Hop. Thanks for coming by and sharing your fabulous recipe. Sharing the love to the world today and tomorrow on all my social media!
Please come by and link up again next week!
Blessings,
Shari
The Simple, Sweet Life says
Thanks so much for hosting your wonderful link party each week! I'll definitely be stopping by to link up next week! 🙂
Pure Grace Farms says
Wanted to let you know I will be featuring your beautiful blog and Facebook page on my FB page on Tuesday 9:15. I know my readers are going to love it!
Blessings,
Shari
The Simple, Sweet Life says
Awww thank you so much for the feature! 😀