
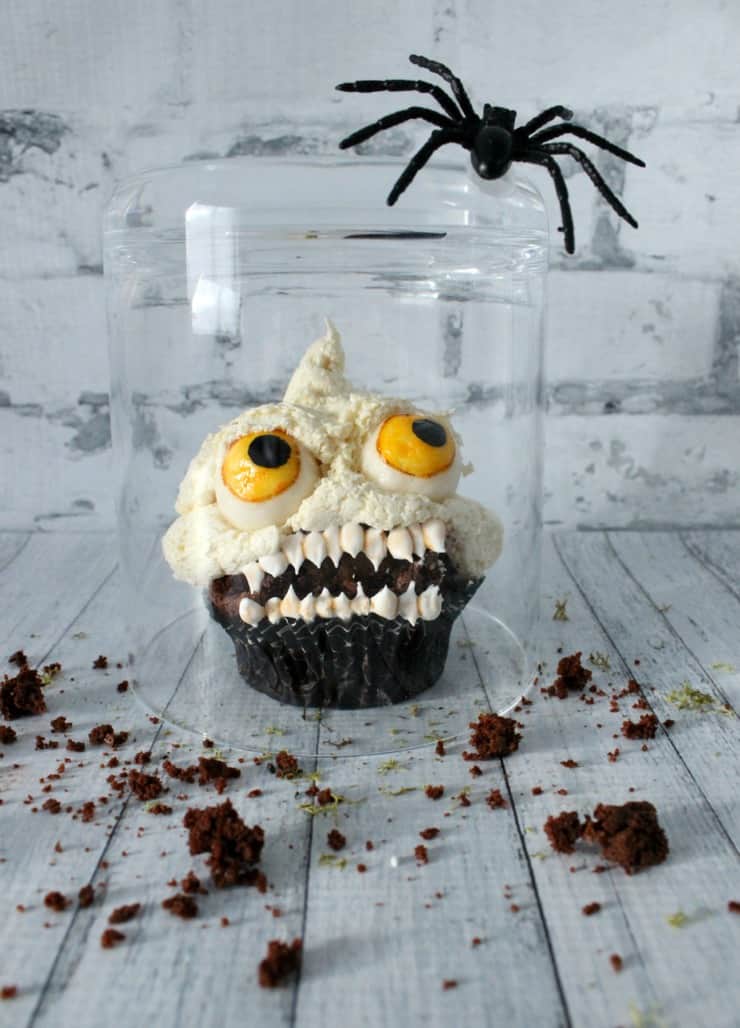
A couple weeks ago, as I was putzing around on Pinterest (my favorite black hole of time), I came across something that just made my jaw drop. Like the skeleton ornaments that I just had to cookie, I immediately thought, "These have to be made into cupcakes!! Ok, they already are cupcakes... But cupcakes that can be eaten and given to friends to scare the pants off them!!" (Yes, I really do think about how to scare the pants off my Norwegian friends who aren't used to Halloween. There ought to be some perks to living 6,000 miles away from home!) Luckily for me, Lucy, who designed these little guys over at smallandpissed, loved the idea as much as I did!
Killer Cupcakes
Makes 8-9 cupcakes
What you'll need:
12 cupcakes (preferably something dark)
A batch of frosting
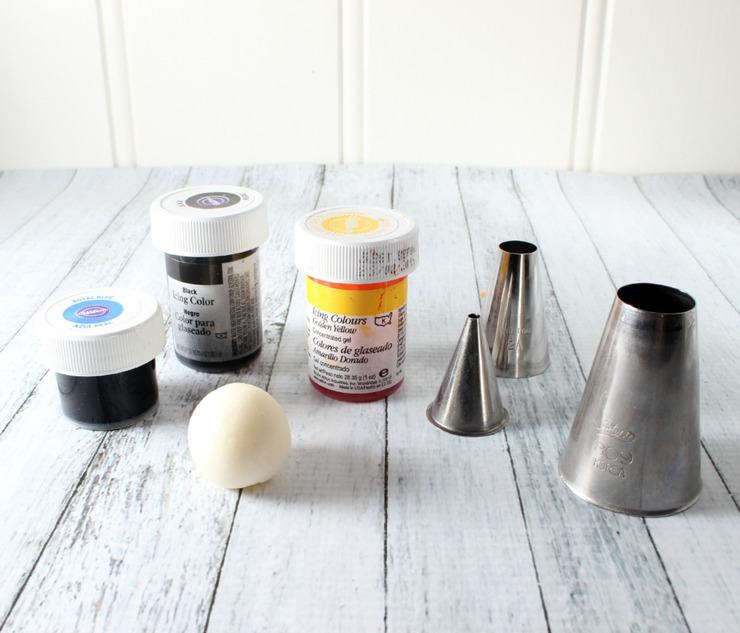
White fondant
Food gel coloring (for the eyes)
Clean, food-only paint brushes
A batch of royal icing
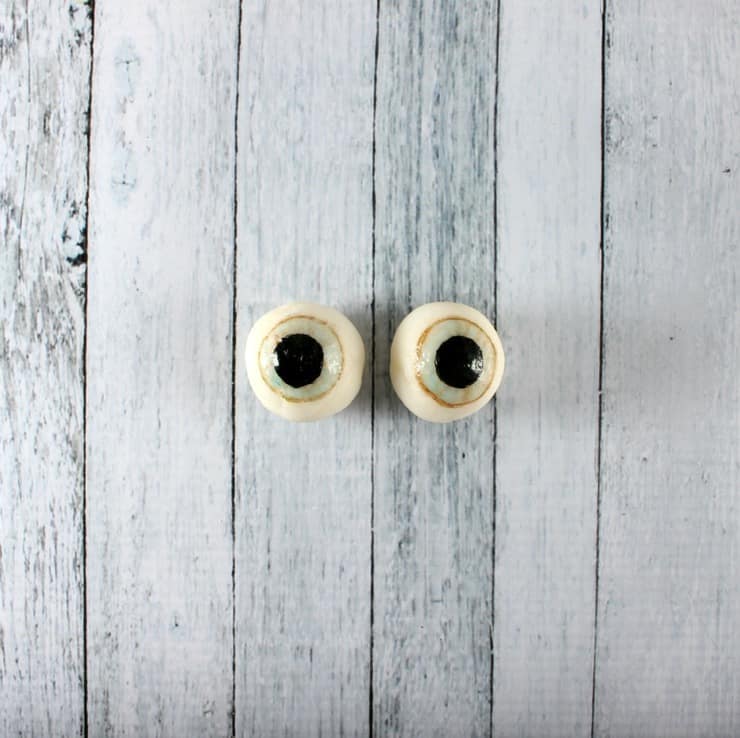
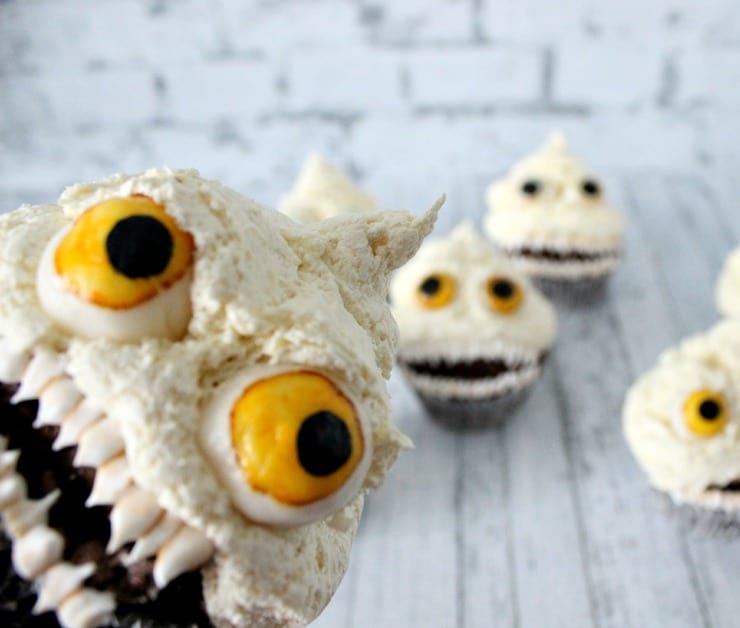
Although there are multiple ways to start this project, I recommend starting with the eyeballs because they can be made in advance (and are actually better if you do because then they're not so soft). To make the eyes, roll small balls of white fondant that are roughly the same size. To paint the irises and pupils, you can use the end of a round frosting tip to create an outline, or you can freehand it, depending on what you're most comfortable with. Paint the iris with gel food coloring, use a little brown food coloring to outline the iris and create some dimension in it, and use black to create the pupil. Let the eyes dry completely before using them.
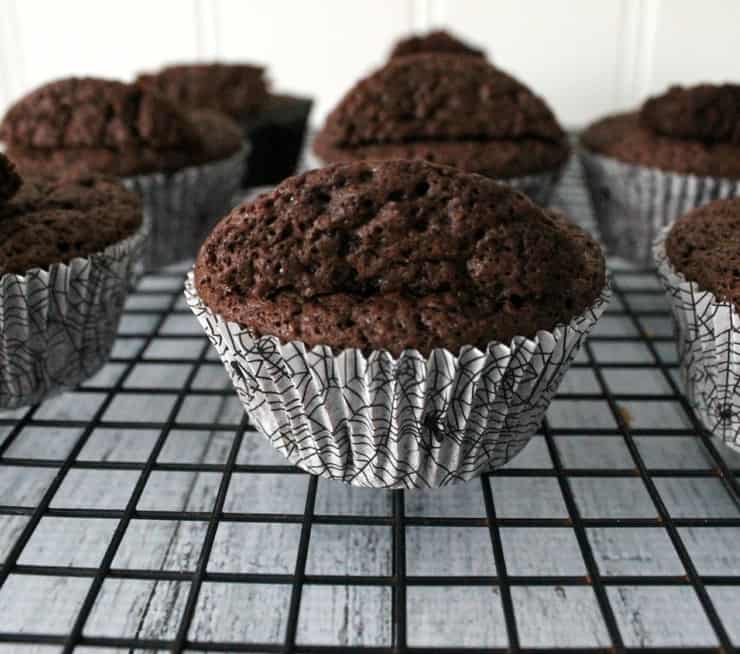
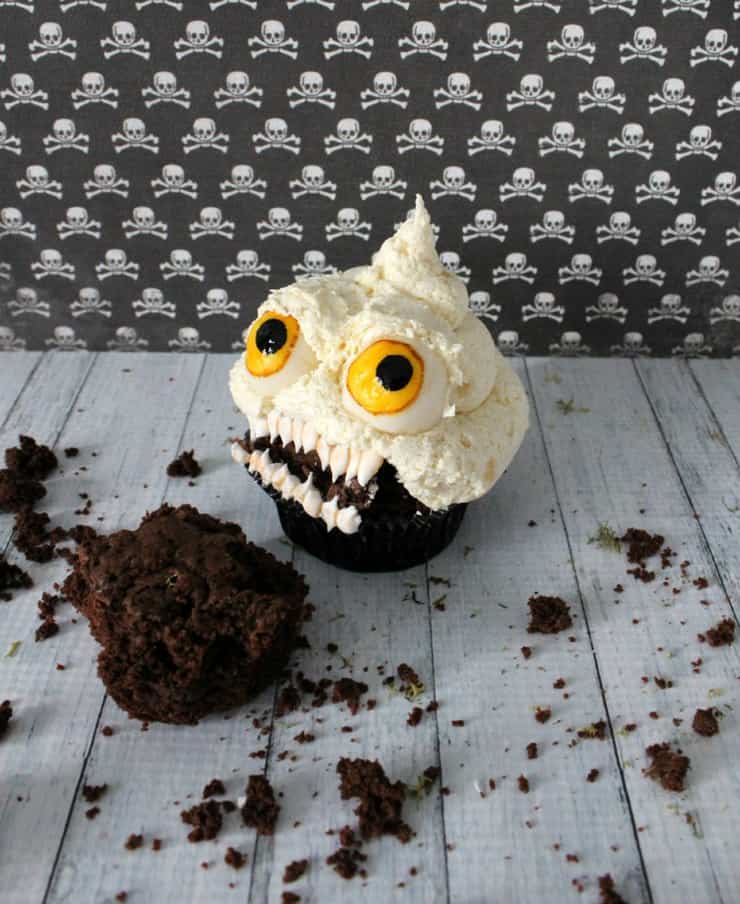
For the cupcakes, you can use pretty much any flavor you like, but I recommend a dark cupcake (like chocolate) since you'll see the cupcake through the mouth area, and it just looks better if it's dark. I made a half batch of my favorite chocolate cake recipe and used it to bake 12 cupcakes at 350*F (175*C) for 16-18 minutes. Once you have you're cupcakes and they've had a chance to cool, you're ready to start building the mouth area. Since these guys have somewhat open mouths, and need room for teeth, we're going to have to build the cupcakes up a little more. To do this, cut up several of your cupcakes and use the wedges to create more height on one side of the whole cupcakes. Don't worry about making each one exactly the same; it actually looks better if there are differences between the cupcakes.
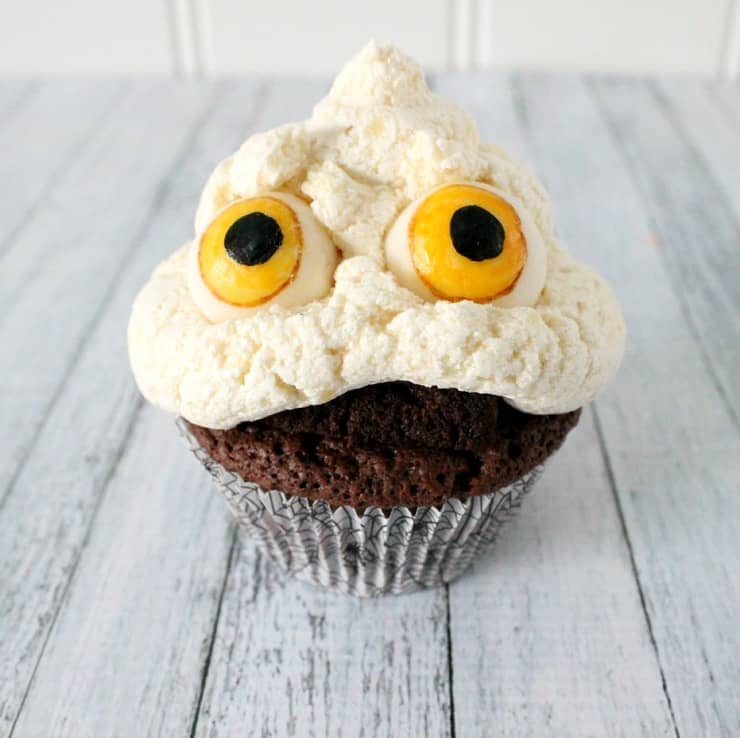
For the frosting, I decided to use an ermine frosting because I could make it look a little rougher, but you can use whatever kind of frosting you want. Using a large round tip, pipe your frosting onto your cupcakes, making sure to draw it up over the wedge of cupcake you just added for the mouth area. While the frosting is fresh and hasn't had a chance to completely stick together, you'll want to create the area for the eyes. Using a small, offset spatula or a butter knife, pull the second layer of frosting up from the bottom layer, and press the bottom layer down. Gently press the eyeballs into the holes you just created and work the frosting back into place around the eyes. Where you place the frosting will shape the expression these little cupcakes will have.


Now it's time for the teeth! To make the teeth, you'll need a stiff, piping consistency royal icing. So that each tooth is defined, you'll want to pipe every other tooth to start (if you don't, it'll just be one continuous line of white royal icing). Once you've piped your first round of teeth on all your cupcakes, go back and fill in the spaces in between the teeth on all your cupcakes. Once the teeth have dried (4-5 hours), you can go back through and define the teeth a little more with some watered down brown food coloring.

All of these Halloween goodies are getting me really excited for Halloween! What Halloween goody are you most looking forward to making this year? Share your thoughts in the comments below!
Happy baking!


Sue says
These are so stinking..... fun!
The Simple, Sweet Life says
Thank you for not saying adorable again Mum. 😉
Sue says
I held back 🙂
Tux of Brooklyn Homemaker says
So cute (and terrifying)! Thanks for the link!
The Simple, Sweet Life says
Thanks so much for posting the fantastic frosting recipe! It was just the right amount! 🙂
Angela says
These are awesome! They might be the coolest Halloween cupcakes I have ever seen!
The Simple, Sweet Life says
Wow, what a sweet thing to say! I'm so glad you liked these little guys! 🙂
Amanda says
This is AWESOME! I'd love to try this, but I know there is NO way it would look as good as yours.
The Simple, Sweet Life says
I bet whatever you made would turn out great! Besides, these guys kind of take on their own little personalities as you make them, so each is cool in its own way. 🙂
saynotsweetanne says
These are absolutely amazing! The eyes are so cool!
The Simple, Sweet Life says
So glad you think so! 😀
Lexi @ Sempre Dolce says
I just came across your blog yesterday and LOVE your photography! Also, those cupcakes are quite something! 🙂
The Simple, Sweet Life says
Awww thank you! I'm so glad you love the photos and these silly little cupcakes! 😀