
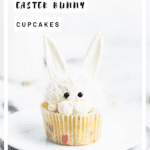
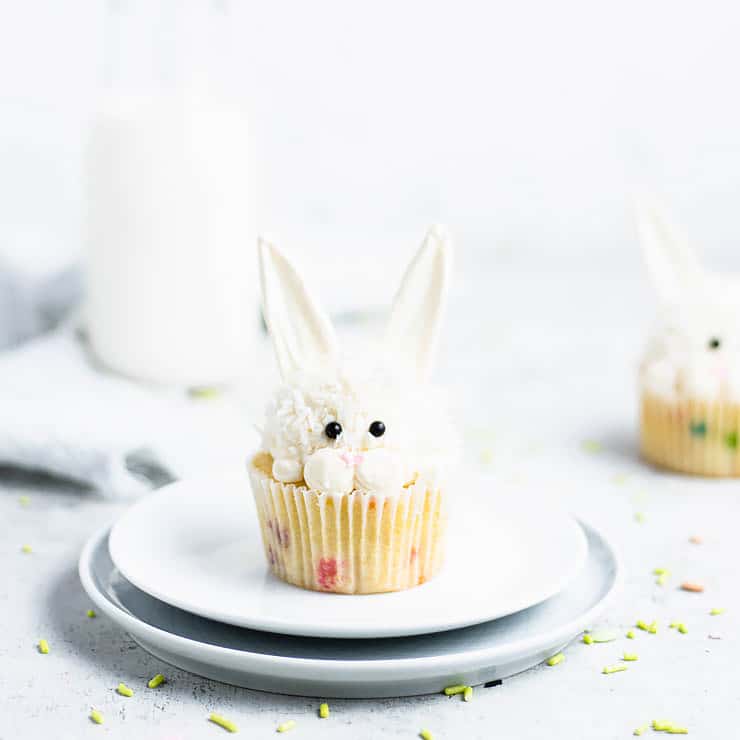
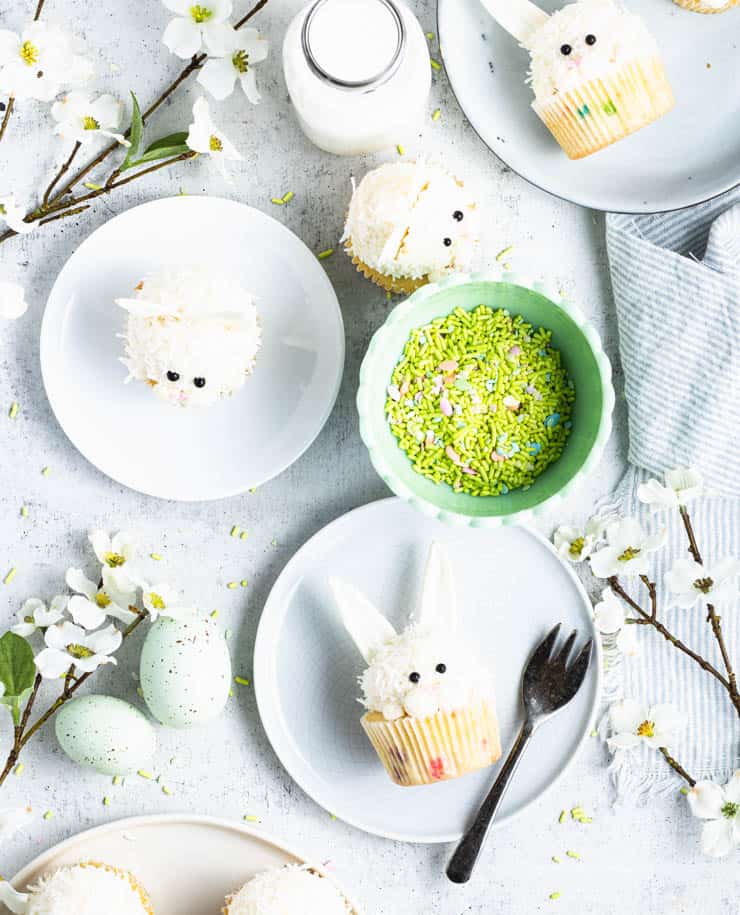
Looking for a simple Easter treat to make? Look no further than these easy, kid-friendly Easter bunny cupcakes! These sweet cupcakes are dressed up in a vanilla buttercream frosting, shredded coconut and melt-in-your-mouth chocolate ears.
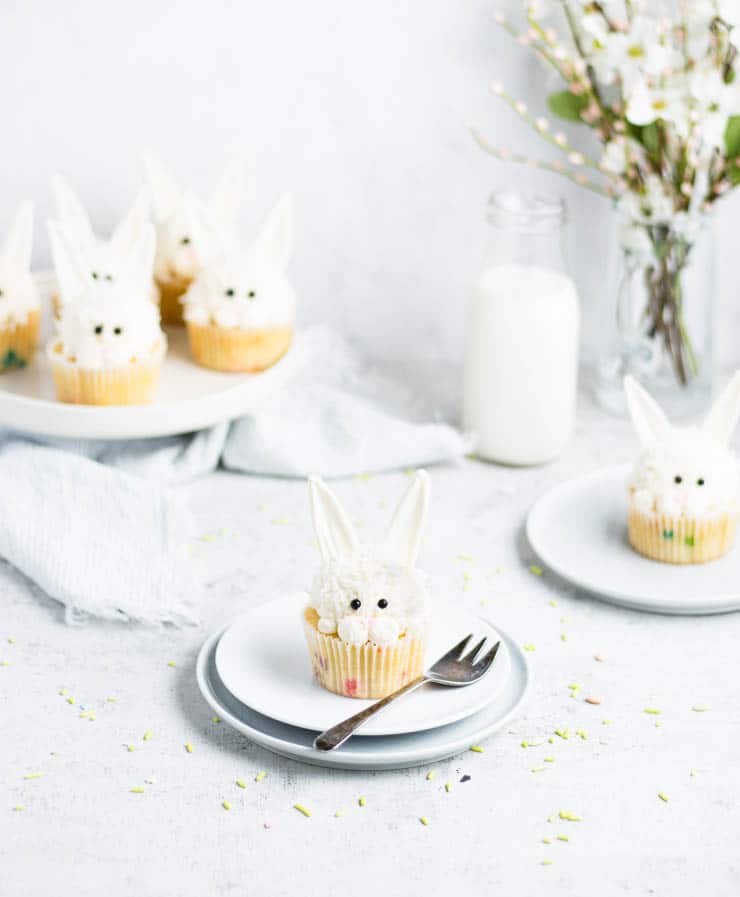
It almost feels silly to write an introduction to these cupcakes because you're here, and that means you've clearly already been drawn in by their cute, coconut covered faces, those melt-in-your-mouth ears and the adorable frosting noses.
What can I say that these photos haven't already shown you with your own to eyes?
So we'll keep it short and sweet (just like these cupcakes): If you're looking for an easy, kid-friendly Easter dessert that lets you straddle that sweet spot between made-from-scratch and store bought, you're going to want to add these cupcakes to your Easter baking list stat!
Here's how to make these cupcakes
First, make or purchase a dozen cupcakes.
If you plan to make your own cupcakes, you can adapt my favorite basic cake recipe to just about any flavor your heart desires, including vanilla, chocolate, strawberry, red velvet and carrot cake. For this tutorial I went with Funfetti.
But if you need to save some time, there’s no shame in purchasing cupcakes; Most grocery store bakeries will sell them to you sans-frosting.
Second, make the chocolate ears.
In a small bowl, melt five ounces of white chocolate or candy melts. You can do this by heating the chocolate over a pot of boiling water or in the microwave using 10-15 second increments. If you plan on using the microwave method, be careful not to overheat the chocolate as it will seize up.
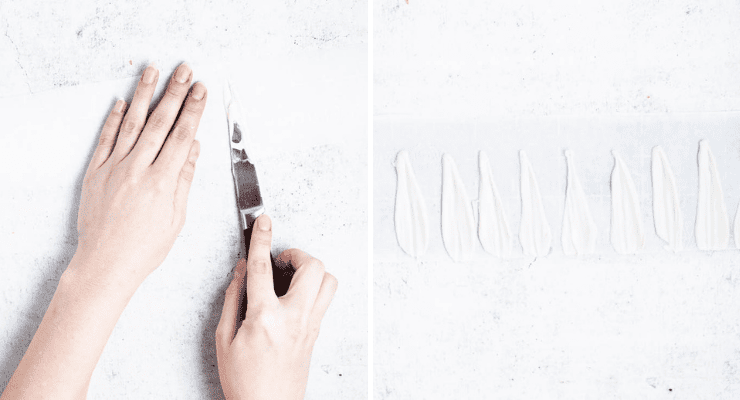
Holding the bowl at an angle and using a small pairing knife, coat one side of the knife in chocolate. Chocolate side down, press the knife into a piece of parchment paper and gently pull down.
Repeat until you have 24 ears. Place the parchment paper on a baking sheet and place in the refrigerator.

Third, make the frosting.
While you can use store bought frosting for this tutorial, I recommend using a homemade buttercream as it's firmer and will hold its shape better.
To make the frosting, cream the butter on high until smooth. Scrape down the sides of the bowl, add the vanilla and powdered sugar, and continue beating until a fluffy frosting forms. Add a tablespoon of milk at a time, beating between each new addition, until you reach your desired consistency.
Finally, assemble the cupcakes.
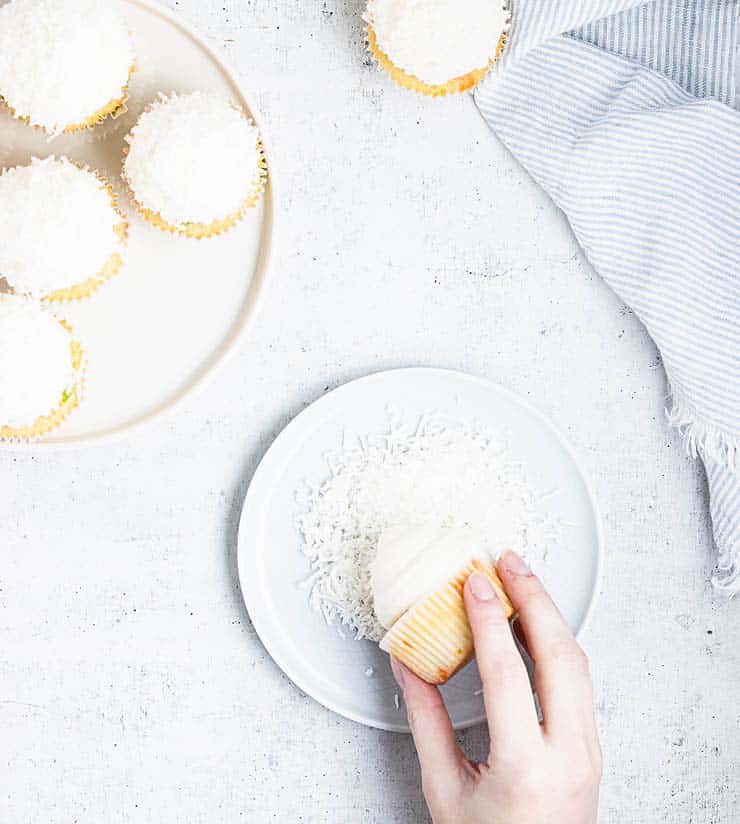
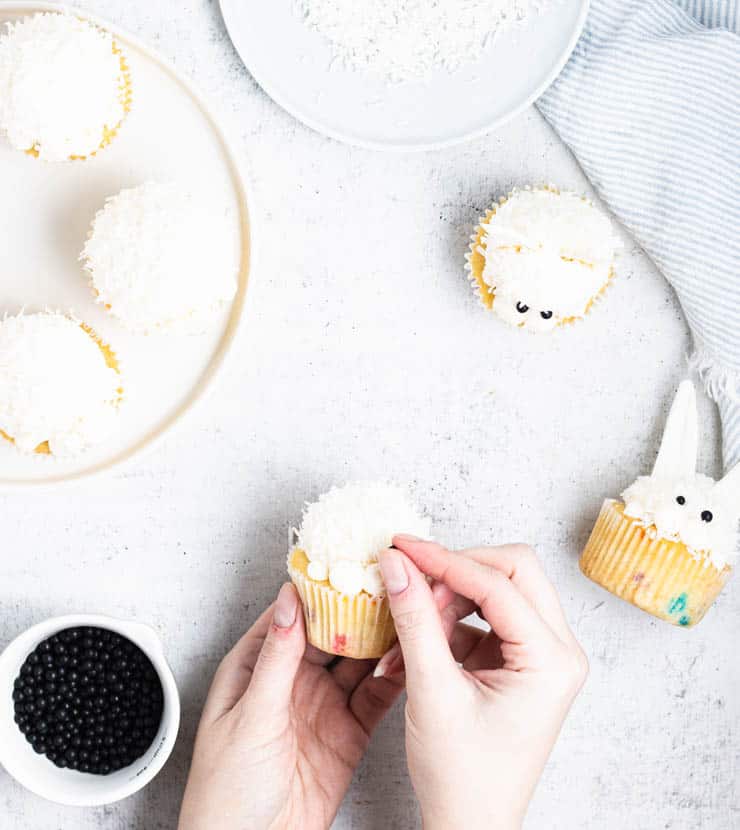
Spoon most of the frosting into a piping bag with a large, round tip (I used an Ateco 809). Pipe the frosting onto the cupcake in a large, slightly off-center dollop. Gently tap the cupcakes on the counter to spread the frosting out, leaving a small space between the frosting and one side of the cupcake.
Roll the frosted cupcake in shredded coconut. Divide the remaining frosting, coloring a tablespoon pink and spooning the rest into a piping bag with a small, round tip.
Pipe two large dollops on the front of the cupcake to create the nose/mouth and two smaller dollops along the edge to create feet. Use the pink frosting to pipe a heart shaped nose.
Remove the ears from the refrigerator and insert them into the top of the cupcakes. Add the black nonpareils for eyes.
Expert tips
- Keep your kitchen equipment/utensils free of water when melting the chocolate. Getting water in the melting/melted chocolate will cause it to seize.
- Reviving chocolate that seizes: If your chocolate has seized, you may be able to bring it back to the right consistency by adding a little fat. Add ½ - 1 teaspoon of shortening or cooking oil at a time, stirring between each addition.
- Substituting store bought frosting: While I recommend using a homemade buttercream for this recipe, if you'd prefer to use a store bought frosting, you can substitute the frosting in the recipe for 2 ⅓ cups of store bought.
- The secret to air bubble free frosting: Once the frosting has come together, turn your stand mixer down to low and continue beating for about 5 minutes. This should work out most of the air bubbles.
- Filling a piping bag like a pro: Spoon your frosting onto a large piece of plastic wrap, roll and twist the ends. Trim one end so there’s about ½” in length, drop your frosting into the piping bag (short end first) with the tip already on and pipe!
- Storing frosted cupcakes: While cupcakes are always best when eaten the same day they’re made, these can be stored in an air-tight container at room temperature for 1-2 days.
Did you make this recipe? I’d love to hear how it went in the comments below. Better still, snap a photo and tag it on Instagram with #thesimplesweetlife. I love seeing your creations!
PrintRecipe
Easy Easter Bunny Cupcakes

These easy, kid-friendly Easter bunny cupcakes are dressed up with a vanilla buttercream frosting, shredded coconut and melt-in-your-mouth chocolate ears.
- Prep Time: 1 hour
- Total Time: 1 hour
- Yield: 12
- Category: Dessert
- Method: Baking
- Cuisine: American
Ingredients
For the cupcakes and decorations:
- 12 cupcakes
- Pink food gel coloring
- Black nonpariels
- ¾ cup shredded coconut
- 5 oz white candy melts/chocolate
For the buttercream frosting:
- 2 sticks (1 cup) unsalted butter, softened
- 3 cups powdered sugar
- 2 tsp vanilla extract
- 2-3 tablespoon milk
Instructions
- Melt the white candy melts/white chocolate over a double boiler or in the microwave.
- Using a small pairing knife, coat one side in the melted chocolate.
- Chocolate side down, press the knife against a piece of parchment paper and gently slide down.
- Repeat for 24 ears total.
- Place parchment paper on a baking sheet and refrigerate.
- To make the buttercream frosting, cream the butter until smooth.
- Add powdered sugar and vanilla and beat until fluffy.
- One tablespoon at a time, add the milk until desired consistency is reached, beating between each new addition.
- Spoon most of the frosting into a piping bag with a large, round tip and pipe a large dollop onto the cupcake in a slightly off-center position.
- Gently tap the cupcakes on the counter to spread the frosting out, leaving a little space between the frosting and edge of the cupcake on one side.
- Roll the frosted cupcakes in shredded coconut.
- Divide the remaining frosting and color about a tablespoon of it pink.
- Spoon the remaining white frosting into a bag with a small, round tip and pipe two dollops onto the side of the frosting with the gap for the nose/mouth and two small dollops on either side for the paws.
- Spoon the pink frosting into another piping bag, slip a small hole at the end and use it to pipe the nose.
- Add two black nonpareils for eyes and the chocolate ears.
Notes
- Keep your kitchen equipment/utensils free of water when melting the chocolate. Getting water in the melting/melted chocolate will cause it to seize.
- Reviving chocolate that seizes: If your chocolate has seized, you may be able to bring it back to the right consistency by adding a little fat. Add ½ - 1 teaspoon of shortening or cooking oil at a time, stirring between each addition.
- Substituting store bought frosting: While I recommend using a homemade buttercream for this recipe, if you'd prefer to use a store bought frosting, you can substitute the frosting in the recipe for 2 ⅓ cups of store bought.
- The secret to air bubble free frosting: Once the frosting has come together, turn your stand mixer down to low and continue beating for about 5 minutes. This should work out most of the air bubbles.
- Filling a piping bag like a pro: Spoon your frosting onto a large piece of plastic wrap, roll and twist the ends. Trim one end so there’s about ½” in length, drop your frosting into the piping bag (short end first) with the tip already on and pipe!
- Storing frosted cupcakes: While cupcakes are always best when eaten the same day they’re made, these can be stored in an air-tight container at room temperature for 1-2 days.
Sources:
Chocolate bunny ears adapted from the Cake Blog
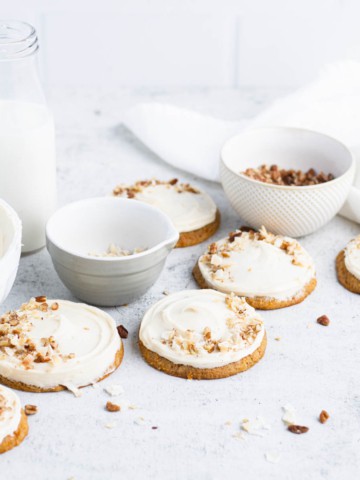
If you liked this recipe, you might also like...
Sue says
These are super adorable and delicious! Also, just the right serving size for me.
Bernice says
Oh, my gosh how adorable are these?! I am not very crafty or arty, but I feel like I could make these using your excellent instructions. I can't wait for Easter now!
Karen Kelly says
These are adorable and my kids had a blast making them. I was worried they would be really complicated but the directions are simple and straightforward. Oh and they are delicious!
Silvia says
OMG, these cupcakes are so cute, not to mention delicious! Coconut always brings texture and a flavor I love to desserts. I know it is not Easter yet, but I wanted to make them just the same. I had a bit of an issue with making the ears, which is why I'm practicing.
Veronika says
These are so cute! Such a fun and creative dessert idea for Easter. The chocolate ears are brilliant!
Elizabeth says
These are so cute! A great Easter treat for the kids! Will definitely be making these for my kids for Easter!
Christy says
These are so adorable! My nieces are going to love these for Easter!
Kathryn says
These are the cutest cupcakes! I'm so excited to make these for Easter- everyone will love them especially my daughter!
Elaine says
These cupcakes are SO CUTE! They are perfect for so many occasions but also to make any day so special! Delicious recipe 🙂
Tammy says
These are actually precious! Beautiful photos...I have to make these for Easter! Everyone will be so impressed...they are just too cute!
Enriqueta E Lemoine says
These are the cutest Easter cupcakes ever. I'm running to Michael's to buy the little eyes and green sprinkles (I want my bunnies to be over the grass LOL), to practice for my Easter gathering. Thanks for this beautiful idea.
Pam says
I made a trial batch of these to see if I could make them as cute as yours and I did! Will definitely be making these again for Easter!