
I may not be a blogging expert, nor a photographic expert, but I think one of the first things we all realize when we start blogging is that photos matter. This is particularly true of food blogging. Until someone develops the technology that allows me to give you all taste samples through your computer screens, I have to find other ways to show you how tasty these recipes are. I could tell you, with words, that my recipes are tasty, but that's always felt kind of disingenuous to me. I mean, how many recipes have you seen that are called "The best insert food here?" And it's easy to say that something is mind-blowingly delicious. It only took me a few seconds to type that. But how do you know it really is as tasty as I say it is? On the flip side, I could, in fact, have the tastiest dish in the whole wide world. But would you believe me if the only picture I had of it made it look like a pile of mush? In the online world, we eat with our eyes, and it's because of this that photography is such a key part of blogging. Maybe photography is your strong suit, in which case my hat is off to you! But if you're here reading this, you're probably more like me and have struggled with the photography aspect of blogging.
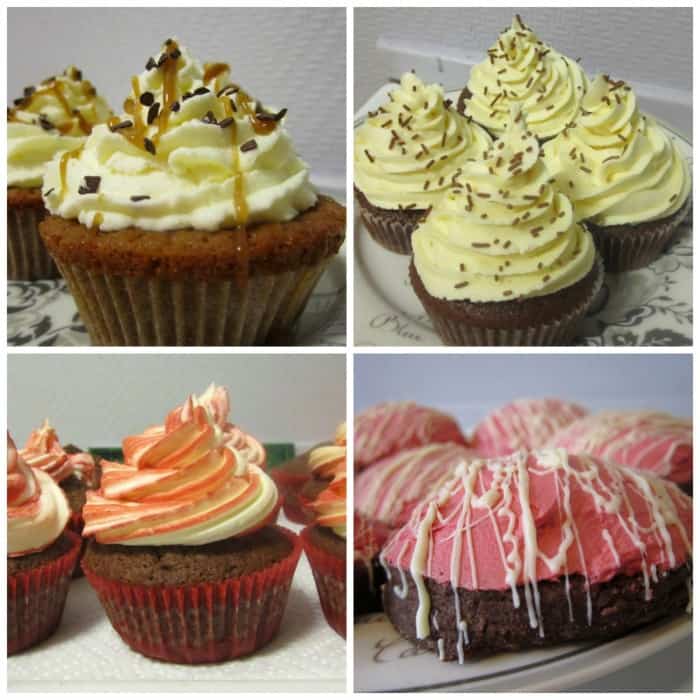
I'm going to hate myself for re-posting these, but my photos were horrible, truly horrible when I first started blogging. I mean, just look at these! It's like the same bad photo over and over again but with different food. Yes, these are still on my blog, and no, I'm not showing you where.
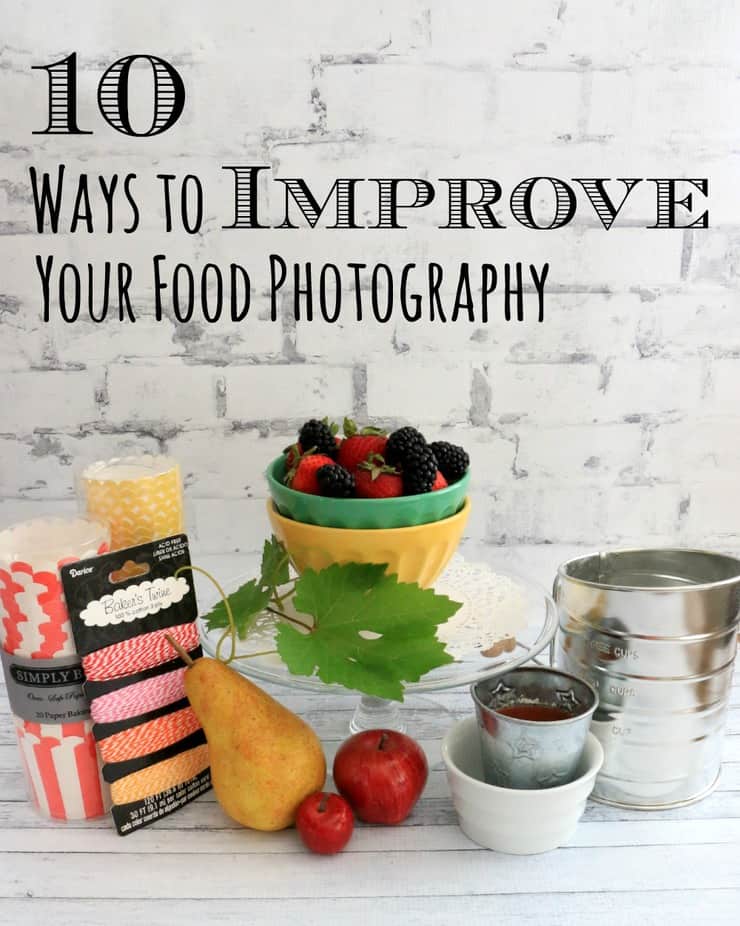
I know, you're all probably feeling infinitely better now about your own photographs (you're welcome). I'd like to think my food photography has improved (vastly) since those first pictures, and if I can do it, then you definitely can too! So how do you make your photographs look just as tasty as the food you're photographing? Here are my top 10 ways to improve your food photography!
#1. Know Your Camera

You don't need a super fancy, expensive camera to take nice pictures, but you do need to know how to use your camera to the best of its abilities. If you're shooting in auto, you're probably not taking advantage of all your camera has to offer. I currently shoot with a Canon EOS Rebel T3i and I would thoroughly recommend it if you're looking for a good, entry level professional camera. It's not as expensive as some of it's more advanced siblings, but it allows you to mess with all of the important features you'll want to tweak like aperture, shutter speed, white balance, etc. If you're not looking to invest in a camera right now, that's ok! Just make sure you know how to use the one you own.
#2. Have a Variety of Backdrops
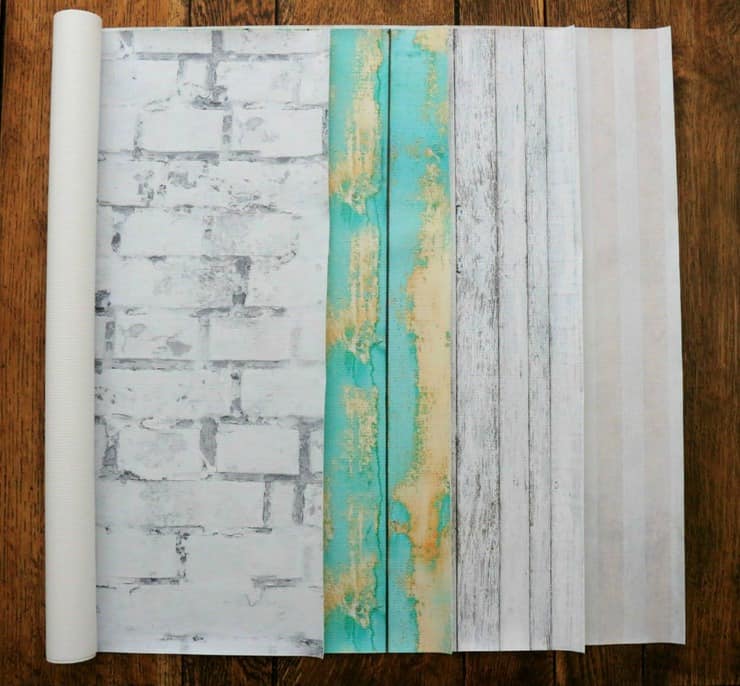
A quick, and easy way to improve your photos is to use a variety of backdrops (although not necessarily all in the same post). I like to choose one or two backdrops that I use consistently throughout a post. That being said, whatever I've used in one post, you're not likely to see in the next (that helps add variety among your posts). I also try to match my backdrop styles and colors to my foods, keeping in mind what kind of atmosphere the combination will create (sweet and playful, elegant, bright and colorful, etc.). Although all of my backdrops have a fairly simple, understated style to them, it's these little details that will enhance your photos by a mile! Luckily, there are so many things you can use for backdrops, so get creative! Some of my favorite cheap options are wrapping paper and craft paper (downside: you can't clean it and will eventually wind up tossing it). If you're looking to invest in some professional (and long-lasting) backdrops, I recommend Ink and Elm. I have 6 of their backdrops and I love them all!
#3. And a Variety of Props
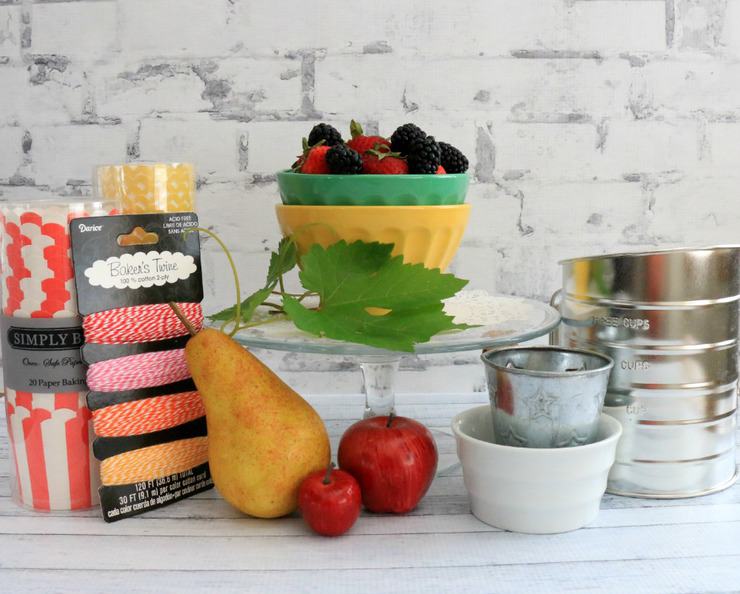
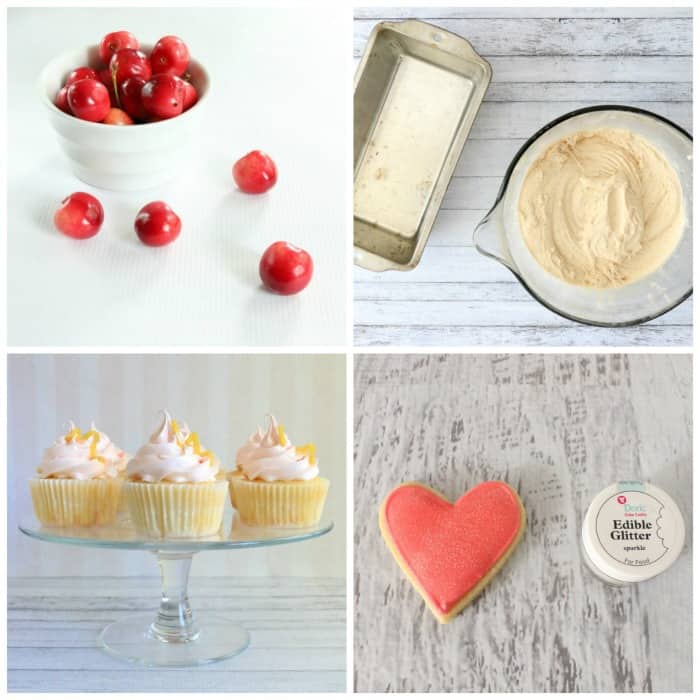
Just like having a variety of backdrops helps keep your photos interesting, so does having multiple props. Again, it helps to pick a few props and be consistent within each post. But it's also a good idea to vary what you use across your posts (as in, don't use the same prop in every post). There are SO many props out there, and truly, the skies the limit! A few of my favorites include colorful dishes, sprinkles, cups, cake stands, doilies, napkins, kitchen utensils, twine/string, food (particularly berries)... pretty much anything you kind find lying around your home or garden!
#4. Vary Your Camera Angles
(And know that not all angles will work for all foods)
You've probably already gotten the point that a big part of good photography is variation; it's just boring if every photo looks the same! This is also true for how you shoot your photos. Try shooting from different angles to get different views of your food. That being said, not all angles will work for all set ups. If you're shooting a bowl of something, it may be that the only angle that works is a straight down shot. Cupcakes, for example, are pretty from the top, but you miss so much if you don't get them straight on. Just like people, foods have "good" angles, so try to consider that as you're taking your pictures.
#5. Use Good Lighting
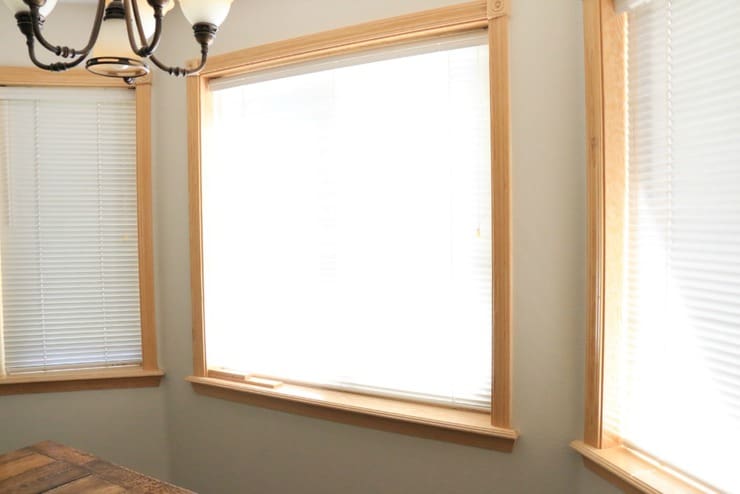
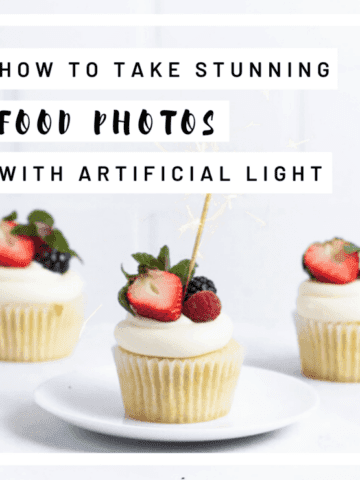
This may seem like a no-brainer, but it is SO essential to good photography. Best case scenario, you're working with natural daylight. My typical photography place is somewhere next to a window, preferably a south facing window so I won't have direct light but will still get a good amount of light throughout the day. If you're not working with natural daylight, you'll want to be sure to have a good, artificial light source, and you'll want to change your white balance setting on your camera. I'll admit, I haven't quite figured out artificial light photography, so I'll instead refer you to Pinch of Yum for their article on artificial light photography.
#6. Try Using Diffused Lighting
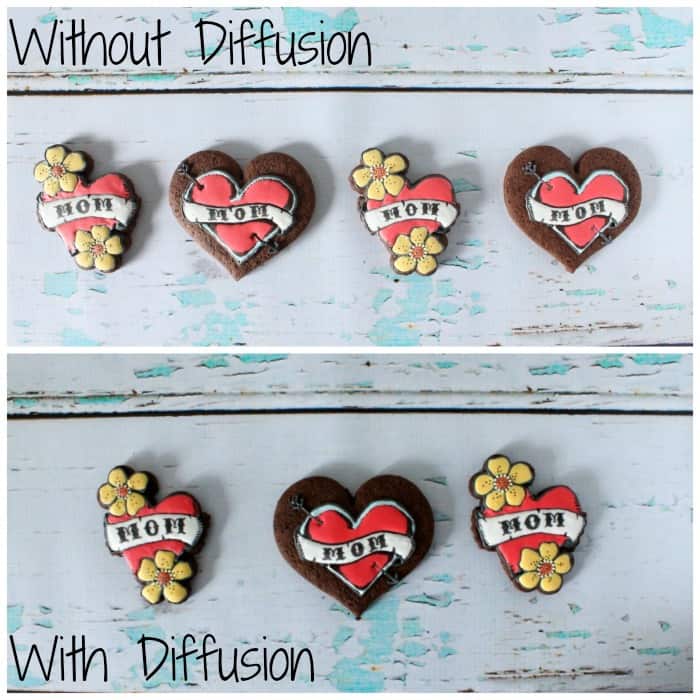
No matter what kind of light you're shooting in, you'll probably want some level of diffusion (depending on the intensity of the light). The purpose of diffusing in photography is to create a softer light source so that you don't get a glare, or have very intense lighting on one side of your food and a dark shadow on the other. There are lots of professional photography options out there for light diffusion, but you can also make your own by using tissue paper, or a white sheet or some sort of fabric between your light source and your subject. Here are a couple of options for building your own light diffuser: 10 Minute Light Diffuser and DIY Light Diffuser on the Cheap.
#7. Get Rid of Dark Shadows

We already talked about this a little bit in the previous section to the extent that you don't want a harsh light source because it will create a harsh shadow. That being said, even diffusing your light source won't completely get rid of the dark shadow problem. In order to do that, you're going to need something to reflect some of that light back. Again, there are lots of professional options out there, but I tend to prefer the homemade (cheaper) versions. Because, really, who wouldn't like to save a little cash? If you want to go with a homemade option, you can really use just about anything that's reflective. At home, I use an Ikea box lid that has a shiny finish to it. While at my parents, I've used a folded piece of tin foil and had just as much success with that.
#8. Learn to Edit Your Photos

So you've gotten through taking your pictures. Yay! Hopefully these tips have helped you take some really beautiful pictures that will put you on the right track to some beautiful, finished photos. That being said, you'll still probably need to do some editing. Best case scenario, you're photos turn out gorgeous and don't need any editing, but still need to be compressed so they don't take up so much space on your blog. But even beautiful photos tend to need just a little tweaking. For more information on compressing your photos, editing your photos, and (free) photo editing software, check out my post on editing your food photos.
#9. Draw Inspiration from Others

Don't be afraid to check out what other people are doing! If I'm really stuck on how to shoot a particular kind of food, I'll go to places like foodgawker and tastespotting, and search for that type of food for photo inspiration. There's no shame in getting help from others!
#10. Be Patient and Keep Practicing!
But whatever you do, keep it up and keep practicing! It takes time to get better at, well, anything you're trying to get better at so give yourself time and be forgiving with yourself.
So what are your best photography tips? Your photography dos and don'ts? Share them with us in the comments below!


balmtomysoul says
Awesome. Love all of these and they are so helpful. I am off to check out the backdrop site and pinning this! Thanks!
The Simple, Sweet Life says
So glad you found it helpful! I hope you find some fun backdrops. 🙂
Shirley Wood says
Wonderful tips and much needed! Thank you for sharing. I had not heard of those website but am about to go check them out. Stopping by from Friday Favorites.
Shirley @Intelligent Domestications
The Simple, Sweet Life says
Thanks for stopping by! I'm so glad you found the tips helpful! 🙂
Kelly says
Thank you for some great tips! I am a newby at blogging food, and I have learned a lot by trial and error. My pictures have a LONG way to go, and I feel like your tips were meant for me!
The Simple, Sweet Life says
I'm so glad you found some helpful tips in this post! I totally understand how it is starting out, but keep at it. 🙂
Amye Mae says
Thanks for this post! I am learning, slowly but surely, how to improve my food photos and you shared some great tips that I'm excited to put into use! Especially love the tinfoil trick!
The Simple, Sweet Life says
I'm so glad you found this post helpful! 🙂 Learning to photograph food can be difficult, but if you keep at it, I'm sure you'll do great! 🙂
Teresa says
Thank you so much for posting these tips. I'm just about to start a recipe section on my blog and have been worrying about how to photo food. Now I have some ideas about what to do.
The Simple, Sweet Life says
I'm glad you were able to find some helpful tips in this post! 🙂
Amanda @ Dwelling in Happiness says
Hi from Busy Monday! This is such a great post! I'm an awful picture taker (clearly, by my photos..). I'm a new blogger and still learning, so this article will completely come in handy. Totally pinning this! 🙂
The Simple, Sweet Life says
Thanks for stopping by, and I'm so glad you found this post helpful! We've all totally been there as new bloggers, so don't get discouraged if things aren't turning out quite the way you want them to (I know my photos sure didn't in the beginning!). Practice makes perfect! 🙂 (P.S. I think your photos look pretty darn good!)
Julie V says
Thanks for the tin foil reflector tip. I've been trying to use a white board as a reflector and am still unhappy with shadows in my photos. I will try covering it with foil or something and see how it goes.
When lighting is really driving me nuts, I have taken things outside in my shady backyard which has helped.
The other thing I try to do is to subtly change my composition (positioning the stuff) between shots. Sometimes it's not until I get my photos on my computer that I realize I took the majority of pictures with 1 set up and something about it just didn't work.
The Simple, Sweet Life says
I'm glad you found the tin foil tip helpful! 🙂 Thanks for sharing your tip about using your backyard! Alas, I don't have a backyard to use (that's apartment living for ya) but I'm sure that will be a helpful tip for other readers. I can completely relate to the whole it-looks-fine-on-the-camera-viewer-but-not-on-the-computer-screen. Because of that, I usually take my pictures and then load them onto my computer while everything is still set up. But that's a good tip about changing things up just in case. 🙂
Ashley @ 3 Little Greenwoods says
Fabulous tips! Especially about getting rid of harsh shadows. Thanks so much.
~ Ashley
The Simple, Sweet Life says
I'm glad you were able to find some useful information in this post! 🙂
More With Less Mom (@MoreWithLessMom) says
I've been working on my photography. I've found getting enough light to be a big challenge. Thanks for sharing. Hello from Say G'Day Saturday.
The Simple, Sweet Life says
Getting enough (good) light can definitely be an issue. Try shooting next to a window or check out that link on shooting at night. You can also mess with your camera settings to let in more light if you need to. Changing your ISO setting can really help with this, and your shutter speed/aperture will make a difference too. Thanks for stopping by! 🙂
The Simple, Sweet Life says
I'm glad you found the post helpful! 🙂 Just keep practicing and you'll be amazed at how quickly they'll get better! 😀
Carisa Smith says
These are some great tips! Thanks so much, I need all the help I can get.
The Simple, Sweet Life says
I think your photos already look pretty tasty, but I'm glad you found this post helpful! 🙂
Elizabeth says
Thanks for the tips! My first food photos were horrible, but they're slowly getting better thanks to advice like yours and practice.
The Simple, Sweet Life says
Your photos look pretty good to me, but practice definitely makes perfect so just keep at it until they start coming out to your satisfaction. 🙂
Elizabeth says
Thanks! I definitely plan to keep practicing!
The Simple, Sweet Life says
Keep up the good work! 🙂
Maria says
Thank you for these great tips. Backdrops you use are really good looking. May I ask what is the size of the backdrops from Ink&Elm you use?
The Simple, Sweet Life says
All of my backdrops from Ink and Elm are 3ft x 2ft. If you're photographing something tall, like a cake, you might need something bigger, but I've found for most jobs, 3ft x 2ft is big enough for me (you can also combine two to give yourself more backdrop if you need it). 🙂
Pam Garrett says
Great tips! I'm new to blogging and thus, blogging photography. I love your inexpensive ideas. Thanks. I saw this on http://bloomdesignsonline.com/2014/07/link-party-79.html#comment-30650
The Simple, Sweet Life says
I'm glad you enjoyed the post! 🙂
Natasha In Oz says
G'Day from Oz! I just wanted to let you know I am featuring you at my blog this week as one of my Friday Favorites.
Best wishes,
Natasha in Oz
The Simple, Sweet Life says
Thanks so much for the sweet feature! 🙂
Britney says
So awesome! I've pinned it and can't wait to use some of the tips!
The Simple, Sweet Life says
I'm so glad you found some good tips! 🙂
anglemoine says
Congrats on being featured on The Wednesday Roundup! Because your post was chosen, its now also been pinned to our Link Party Features Pinterest Board {http://www.pinterest.com/anglemoine/the-wednesday-roundup-features}! We'd Love for you to come on by and check it out!
The Simple, Sweet Life says
Wow, thanks so much for the feature! And, of course, thanks for hosting such a great link party each week! 🙂
Natashalh says
I am always, always looking for ways to improve my photographs! Thanks so much for the link to Ink & Elm. I'd looked at them last year and then forgotten about them, but I think I'm ready to make the investment!
The Simple, Sweet Life says
They are by far my favorite, and I've spent more hours than I care to admit browsing photo backdrops. 😉 Just be prepared for some steep shipping costs because they only do 2nd day delivery.
colleenpastoor says
Wow! I was already in love with your styling and photos so am thrilled you're giving tips. I love that white wood looking backdrop!
The Simple, Sweet Life says
I'm so glad you found the tips useful! 🙂
ishi nora says
Really helpful tips for people who are looking for food photography. Keep sharing!!!