
 Well hello there you fantastic foodies!
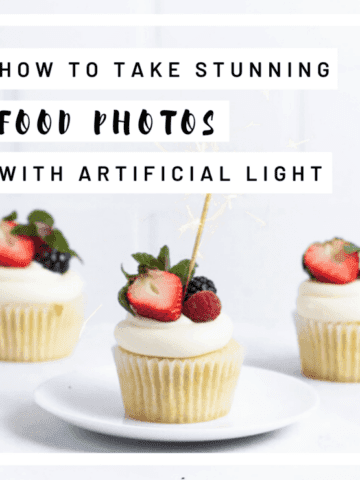
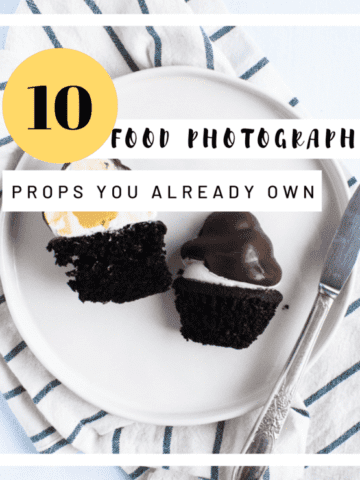
Today we're taking a little break from recipes to talk about the lifeblood of food blogs: food photos! Food blogger or not, I think we can all agree that one of the most important tools in a food bloggers toolbox are their photos. How else are we able to prove our recipes are drool-worthingly delicious? Pics or it didn't happen, am I right internet?
But, as any foodie out there will tell you, food photos aren't necessarily an easy craft to master. I won't speak for the rest of the awesome gals in this post, but just scroll back through my blog to a couple of years ago (but seriously, please don't) if you need some photographic evidence of the food photography learning curve.
Don't let that get you down, though! I asked some of my favorite (and quite possibly the coolest) food bloggers on the internet to share their top food photography tips with you. Just 'cause you're that awesome. So here are our top 5 food photography tips for taking drool-inducing photos!
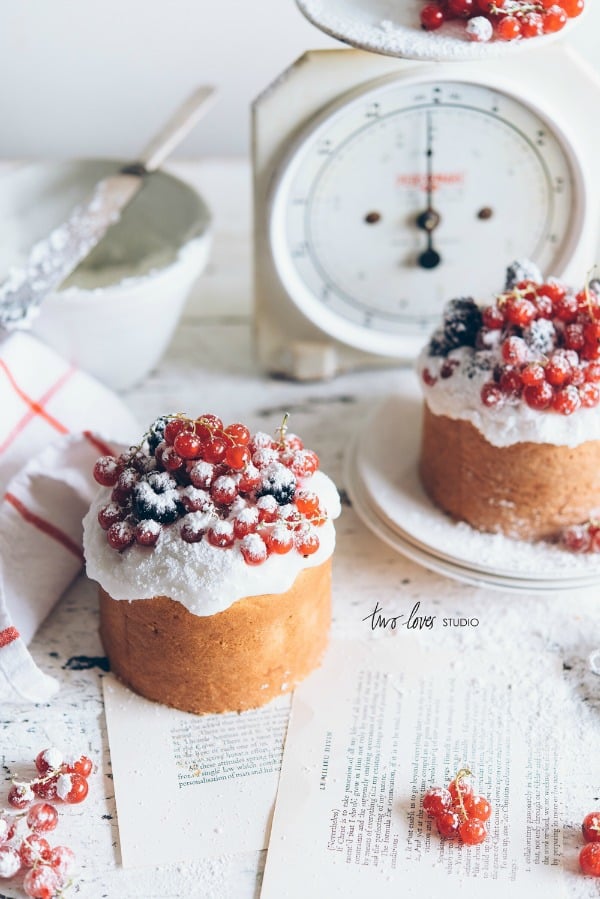
 Rachel | Two Loves Studio
Every food has a best side, (just like all those girls who take endless selfies on IG - you only see them from their best side). Some foods are lucky, they have multiple sides. Others aren’t so lucky. Classic examples would be a hamburger and a tart.
A multi-layer hamburger shot from above just wouldn’t do it justice, you gotta capture all those fillings. You want the reader to be engrossed in each layer to convey an overall emotion.
Conversely, a tart would be lost if you shot it from straight on and leave the reader knowing that their is something not right about the image but they can’t quite put their finger on it. You’d have to capture this from above as it is shallow.
My tip for taking a show stopping image that features a dish in its best light is to capture its best side - the angle that compliments the dish. It’s like clothing, to look your best you wear styles that suit your body shape. If you aren’t sure on how to do that, look at the angles other photographers have chosen and try to replicate in your next shoot. Try all angles, every one of them (even the ones you know won’t work), then compare in post production to see what looks best. Your brain will tell you straight away when an angle doesn’t compliment a food.
 Courtney | Fork to Belly
PROPS! Oh, the wonderful world of props. This was such a mystery to me when I first started blogging. Where do people find antique dish ware? Does everyone have amazing reclaimed wood tables in their home?? I didn't know where to begin, but I slowly figured out that the only way to find props is to do so slow and steady. When I first began blogging, I spent hours on Crate and Barrel and West Elm, trying to decide what set of soup bowls would work best in my photos. The problem was that I didn't really even know what my creative aesthetic was yet. There are many dishes I bought early on that I never used once. Over the last year I've found props all over the place, and most of the time in very unexpected places. My tip is to start off slow, buy a few plates that are simple but not generic. My favorite plate to use is from the Mercer set at Crate and Barrel. It's extremely simple, but looks handmade which I think gives it character. And only buy props you absolutely love! You'll know it when you find them.
 Lindsay | Pinch of Yum
Turn off the overhead lights, and get close to a window. Natural light is key! Also, try experimenting with pour shots. It takes your food photography up a level.

Claudia | The Brick Kitchen
Less is more: Whenever you are shooting a dish, start with the absolute minimum in the photograph - the food itself. Minimize clutter in terms of colours, plates and utensils, and don't get too 'close up' with the food initially - you don't want people staring at the portion you have photographed really tightly and trying to figure out what it is. Blank space is your friend! As you get more comfortable with how it looks, gradually add in that pretty napkin, that little fork, or other ingredients that suit the photo, and start to rearrange the food as you see fit and try some different angles. But for those starting out, I would recommend starting with a blank canvas and building on it.
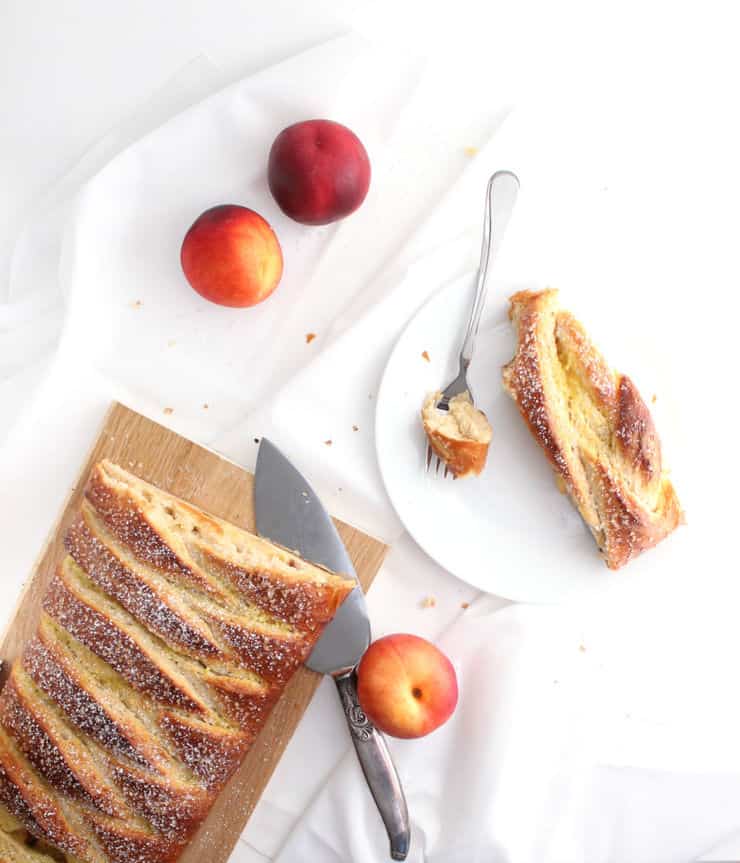
 Claire | The Simple, Sweet Life
Every style of food photography is a little bit different, so find what you like and learn how to shoot it (Rachel has a great article on finding your food photography style). I love shooting bright white food photos, which often require a custom white setting to get a true white background, as well as adding additional light or angling things so that your background is fully lit (otherwise you run the risk of it looking grey in your photos). Both your styling and your shooting technique will vary depending on the style of photo you're going for.
Have an awesome food photography tip of your own? Be sure to share it with us in the comments below!


Fork to Belly says
These are all such wonderful tips--and yesss to Lindsay's tip for pour shots. Those are my favorite kind! Thanks again for including me, Claire!
The Simple, Sweet Life says
I'm such a sucker for pour/sprinkle shots! You can never have too many of those right? 😉 By the way, I LOVED your Gudetama cupcakes! It was seriously difficult choosing just ONE of your photos to feature! 😀
Elsa | the whinery says
I love food photography tips, I always learn something new! I have that issue of getting grey (and blue!!) when going for white backgrounds. I love the tip on props too. Thanks for sharing!
The Simple, Sweet Life says
You can never have too many tips, right? 🙂 And slightly discolored white backgrounds was the bane of me (food blog) existence for quite some time... that stuff just doesn't edit out! Glad you found some useful information!
Janelle @ Run With No Regrets says
These are great tips! I don't have a food blog but I do try to take photos of my meals...and they look terrible! Will definitely keep these in mind 🙂
The Simple, Sweet Life says
Despite all of the people you see bent over their plates with a smart phone, food photography is definitely an art, and it's not always easy to get things to look as mouth-watering on film as they do in real life. 🙂 So glad you found these tips helpful! 😀
Kati | Houseful of Handmade says
Love these tips, and those photos from each blogger, yum! I am a bit hungrier now.
The Simple, Sweet Life says
That makes two of us! Wonder if we could get any of these ladies to overnight us some of that delicious food... 😉
Amanda says
These are fantastic tips! I do have some food posts and my photos can definitely use some help-- I am going to keep these tips in mind for my next post. Thank you!!
The Simple, Sweet Life says
So glad you found this post helpful! I always felt like learning to take great food photos was a lot harder than everyone made it out to be! It definitely takes some time and practice. 🙂
The Simple, Sweet Life says
So glad you found this post helpful! 😀
Taylor says
I'm finally getting on the band wagon with trying to take good food photos! I just did a tutorial last night to make my own "daylight" lamp since I always take pics at night. I'm so thrilled to have better lighting now. Also, when it comes to props - people tend to get me kitchen/cooking related gift cards for holidays. I usually use these to purchase interesting dish ware or utensils that could be used for food photography - things I might not normally spend money on.
The Simple, Sweet Life says
That sounds like an AWESOME way to collect photography props! And isn't it great being able to shoot photos at night?! Best. Thing. EVER.
eatmystreet says
Thanks for these great tips. I love using interesting props, although storage of said props is another matter! 🙂 I have not yet tried a pour shot so I look forward to giving this ago. Dani xx
Rebecca Rhodes says
This is super cool! These tips helped me a lot as I am an aspiring food blogger. I do have a question, though. I don't have a very good camera, and I don't have any lights to make my photos very good. I do have an iPhone 6s, and have some very bright lights. How would I make my photos as good as yours?
The Simple, Sweet Life says
Hi Rebecca! I'm so glad you enjoyed this post and were able to find some useful information here. 🙂 Although I would definitely recommend investing in a good camera if you plan on blogging long term, phone cameras are so good these days you can definitely make due with an iPhone 6s in the meantime. Because you don't have any fancy lighting equipment, I would recommend using natural daylight. Really, natural daylight is the best option out there, regardless of what fancy light equipment you might have available, although it's unfortunately not always convenient. If you want to go the artificial light route, you really do have to invest in something better than your average overhead lighting and lamps. Your artificial light setup doesn't have to be top of the line, but it will still probably set you back at least $100 (that's what mine cost for the external flash and synching equipment, and I've seen photography lights going for about the same price). Hope this answers your questions and gets you heading in the right direction! Happy blogging!