

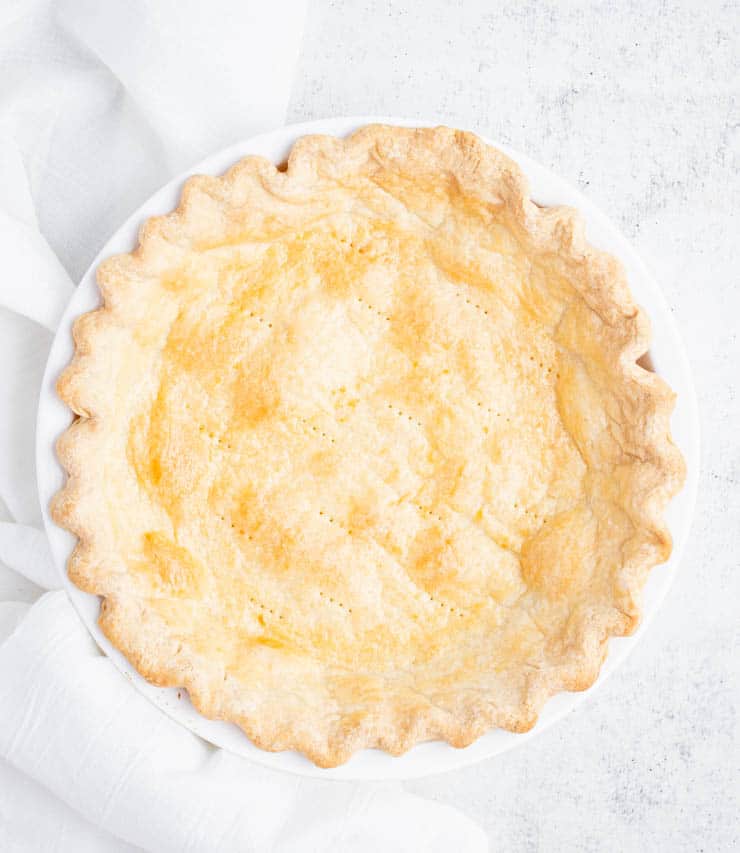
Tender, buttery and full of flavor, this easy, flaky pie crust recipe calls for just 3 ingredients. Be sure to read all the way through for tips and tricks, solutions to common problems, and my favorite ways to use pie crust.
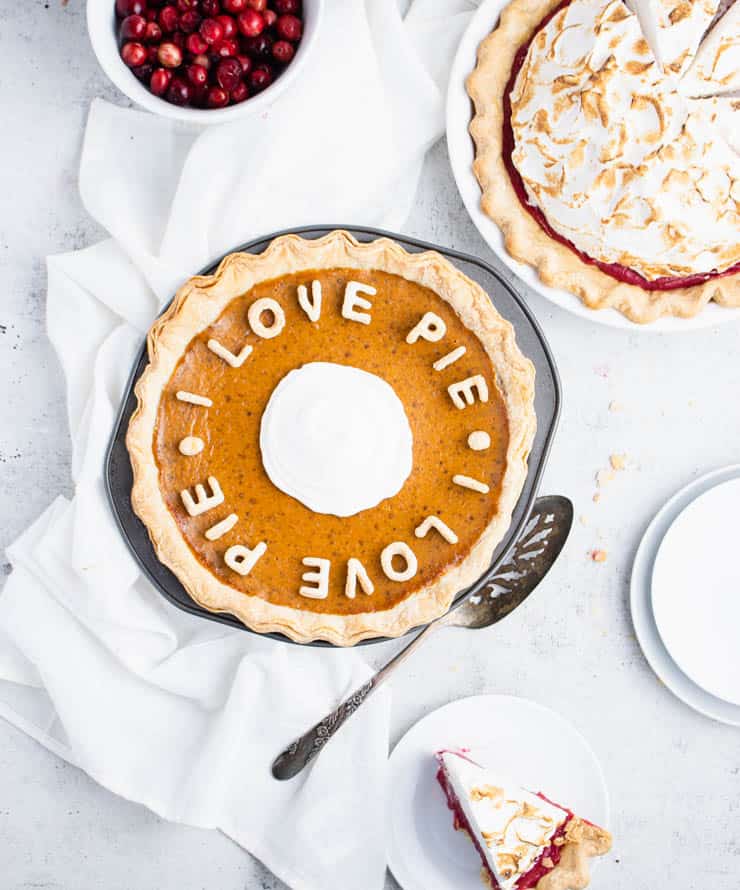
Whether you're baking something summery and fresh, or something cozy for fall, nothing takes pie to the next level quite like a flaky homemade crust.
And although pie dough has a simple line-up of ingredients (this recipe calls for just three), there are enough pitfalls that it can understandably feel a little intimidating.
But if you're ready to embark on this flaky, buttery journey, this post has you covered! Below you'll find my favorite 3 ingredient pie crust recipe, step-by-step instructions to make it, my favorite tips and tricks and common pie crust problems and how to fix them.
The basic 3 ingredient pie crust
My favorite pie dough recipe is an ultra simple, three ingredient recipe. Here's all you'll need:
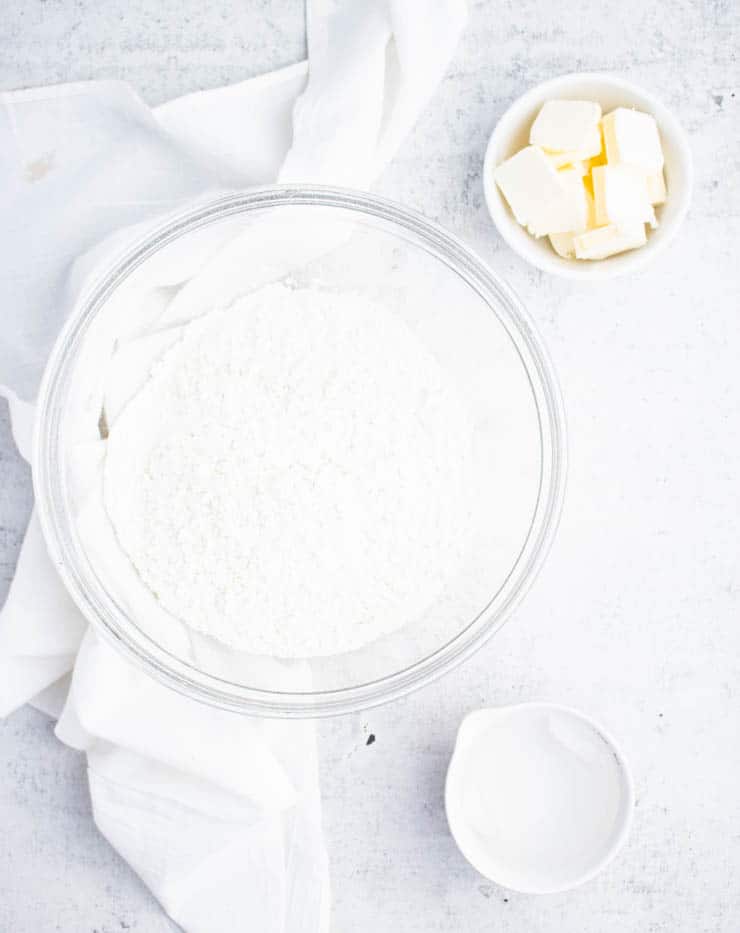
- 1 stick (½ cup) salted butter, directly from the refrigerator
- 1 ½ cup all purpose flour
- ¼-1/2 cup ice cold water
It's important to make sure your butter and water are cold, so I recommend leaving your butter in the refrigerator until you're ready to use it and dropping an ice cube or two in your water to get it nice and cold.
This is a single pie crust recipe, but can easily be doubled to make two. I personally don't recommend making more than two crusts at a time.
Prefer to watch the process?
How to make pie dough
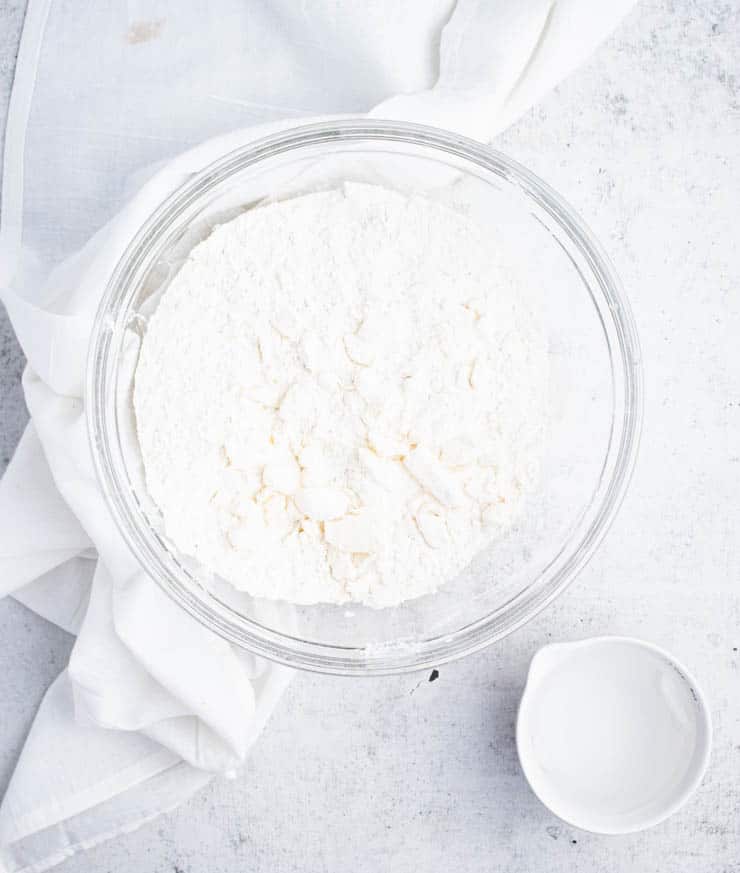
First, create a rough dough.
Cube the butter into one inch pieces.
In a large bowl, combine the butter and flour. Use a pastry cutter to cut the butter into the flour until chunky (pea-sized) and well-coated.
If you don't have a pastry cutter, I've used my hands to mash it together and a potato masher can work in a pinch, but I definitely find that a pastry cutter works better.
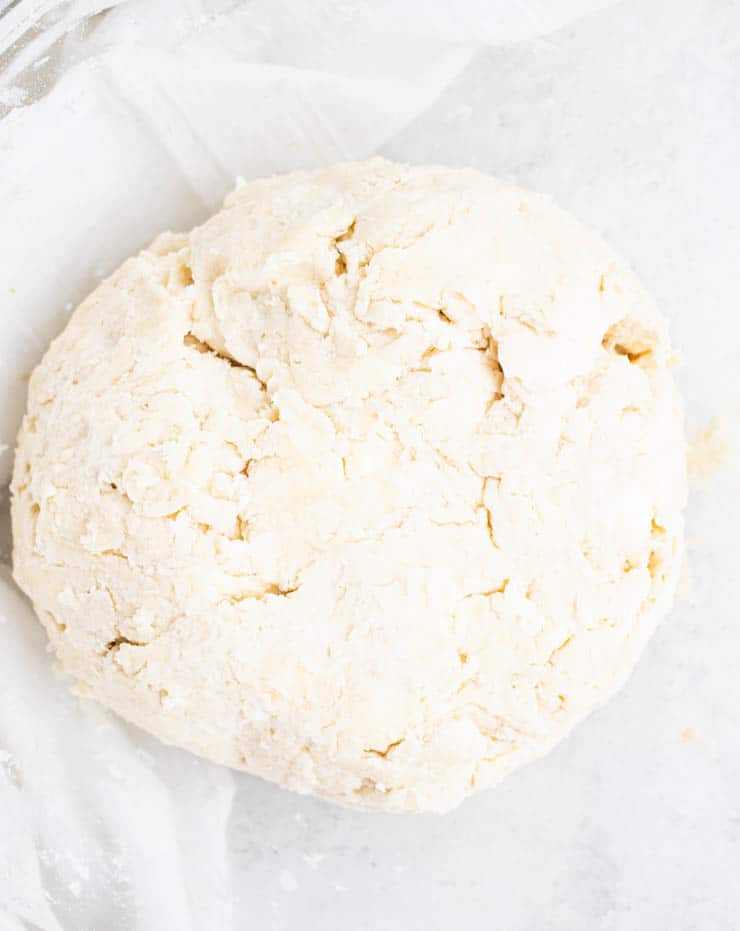
Add a ¼ cup of cold water to your dough, and use your hands to massage it together.
You're going for a rough dough that's shaggy, hold its form and has visible chunks of butter in it.
However, if your dough is crumbly and otherwise having a hard time holding together, you can add a tablespoon of water at a time (up to an additional ¼ cup) until you reach the right consistency.
Second, chill the dough.
Wrap your dough in plastic wrap and chill for at least 1 hour. I prefer to make my dough from start to finish rather than stopping at this step, but it's also ok to let it chill longer if you need to step away.
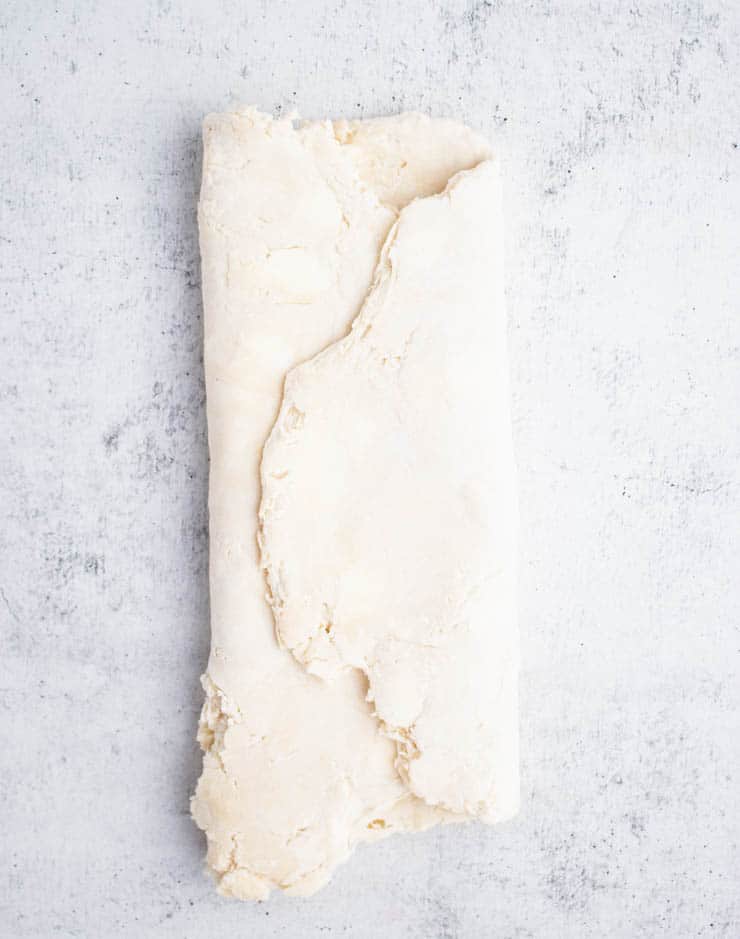
Third, fold your dough.
My favorite secret for a perfectly flaky, layered crust comes by way of Erin McDowell and the Cloudy Kitchen: Laminating (folding) the dough. Laminating creates layers within the dough that ever-so-slightly pull apart while baking to create a flaky, layered crust (this is the same technique used for croissants).
Once your dough has had enough time to chill, remove it from the refrigerator and roll it out into a rectangle. It doesn't need to be perfect and will get easier to roll out as you go.

Fold your dough in thirds, pulling the short sides in.
Roll the dough out in another large rectangle, and fold into thirds using the opposite sides.
Repeat this step a third time.
Finally, roll the dough out for use.
If you're working ahead, you can wrap your dough in plastic wrap, place it in the refrigerator and save it for later (up to 3 days).
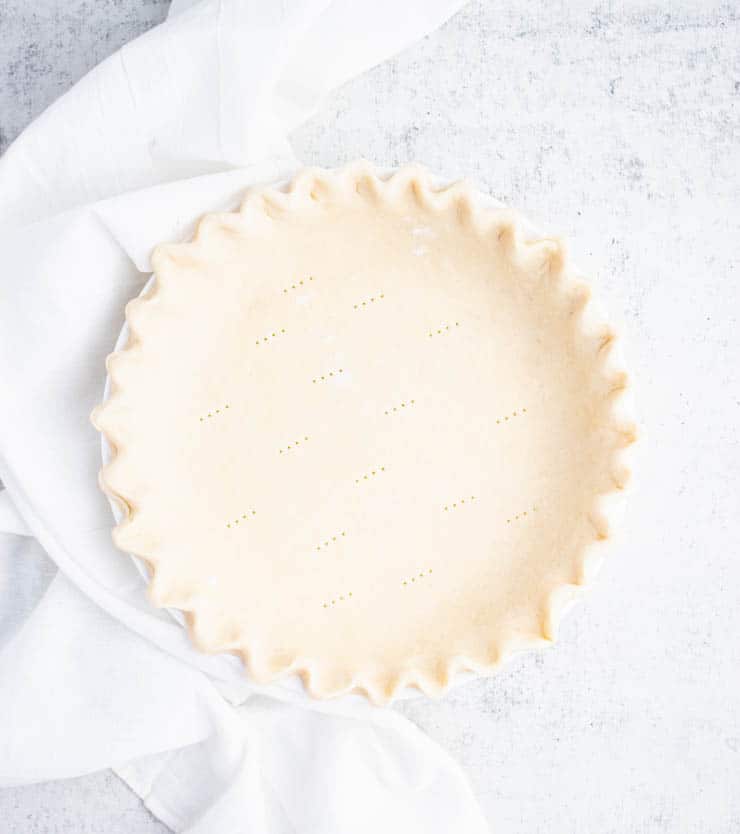
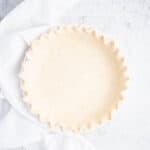
But if you're ready to do some pie baking now, you can roll your dough out so that it's about an 1" larger than your pie pan. Allow it to rest for about 5 minutes.
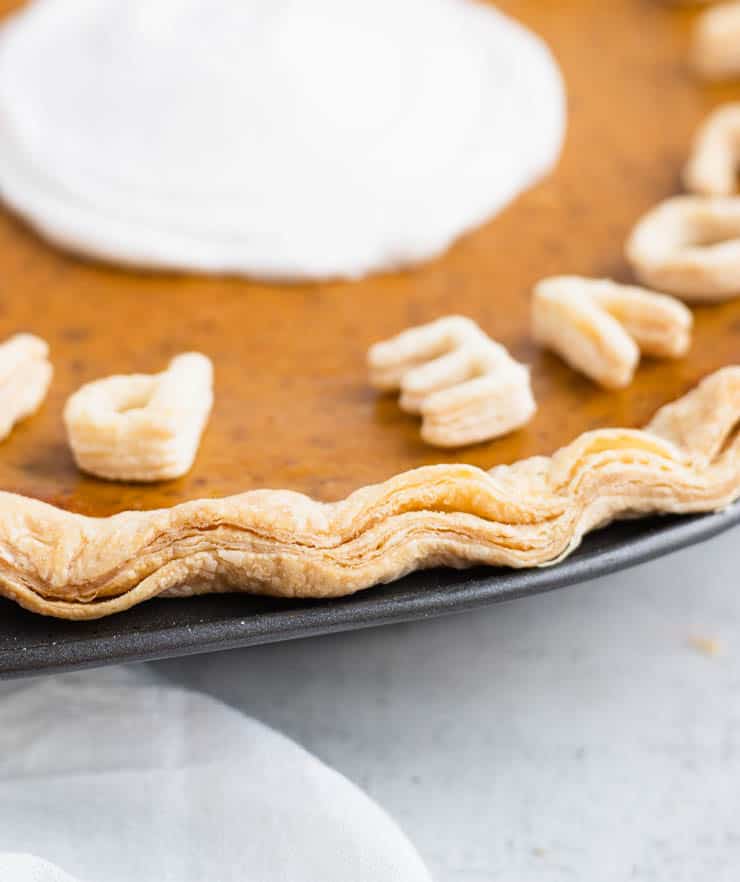
Press the dough into the pie pan and trim any excess around the edge so that only about ½″ hangs over. Fold the excess under and crimp with your fingers or a fork.
Making pie dough by hand vs. food processor
While I personally prefer to make my pie dough by hand because it gives me greater control over how much the ingredients are being worked, a food processor can make dough making a lot more accessible. If you'd like to try making your pie crust in a food processor, here are a few things to keep in mind:
- Low and slow: Food processors can easily overwork the dough or overmix the ingredients, which can lead to a tough, not-so-flaky crust. To avoid this, use your food processor on a low pulse and check your dough often.
- Feel the dough as you go: Particularly when you get to the step where you're adding water, it can be hard to tell where the dough is at by sight alone. Before you add more water, be sure to feel the dough. Does it hold its shape when you pinch it? If so, it's probably ready.
- It's better to take it out early: If you think your dough might be ready, take it out of the food processor and see if it'll form a rough dough that holds its shape. If it's still crumbly, that's ok. You can always put it back in and keep working on it, but you can't undo overmixing.
Working ahead (refrigerating and freezing pie crust)
If you like to work ahead or batch your baked goods, good news: Pie dough keeps well and can be made in advance.
Refrigerating pie dough: Homemade pie dough will keep for about 3 days in the refrigerator. Be sure to wrap it tightly in plastic wrap to keep it from drying out. When you're ready to use it, you can roll it out straight from the fridge.
Freezing pie dough: Homemade pie dough will keep in the freezer for up to 3 months. To prepare it for freezing, I like to wrap it tightly in plastic wrap and place it in a sealable bag or air tight container. Thaw overnight in the refrigerator and roll out as you would fresh pie dough.
Expert tips
- Keep everything cold: Cold ingredients are what lead to a deliciously flaky crust, so make sure you're working with cold butter, cold water and cold dough.
- Underwork rather than overwork: If you're unsure, it's always better to air on the side of underworking your pie crust rather than overworking it. You can work it more if you need to but you can't undo overworking.
Pie dough problems and how to fix them
- My dough is tough: A dough that's tough rather than tender and flaky is a sign that it was overworked.
Solution: While there's not much you can do to bring back an overworked pie crust, you can add a splash of acid (like lemon or lime juice) to lighten and soften the dough. This trick won't return you to a flaky, tender crust, but can help reduce some of the toughness. - My dough is crumbly: Crumbling is a sign that your dough is dry and doesn't have enough water to hold it together.
Solution: Add water one tablespoon at a time until you have a rough dough that holds its shape. - My dough is sticky: A sticky dough is a sign that it has too much water in it. In the future, make sure you're adding no more than one tablespoon at a time over that initial ¼ cup.
Solution: Add more flour. Work a teaspoon of flour at a time into the dough until you reach the right consistency. - My dough tears when pressed into the pie pan: Sometimes a torn crust is a sign that the dough was too dry or it may simply be that it tore on the trip between counter and dish. If it torn in transit, try rolling it around a rolling pin next time and then rolling it over the dish. If it was too dry, try adding a little more water next time.
Solution: A torn pie crust can easily be fixed by pressing scrap pieces of dough into the tear.
Frequently asked questions
Each has there own strengths, but a pie crust made with all butter will typically produce a flakier, sturdier crust whereas shortening will produce a more tender crust.
While pie dough doesn't need eggs, brushing your crust with an egg wash can help it brown, become shiny and protect against a soggy bottom.
No, you do not need to grease your pie pan before adding your crust as there are enough fats in the dough to prevent it from sticking.
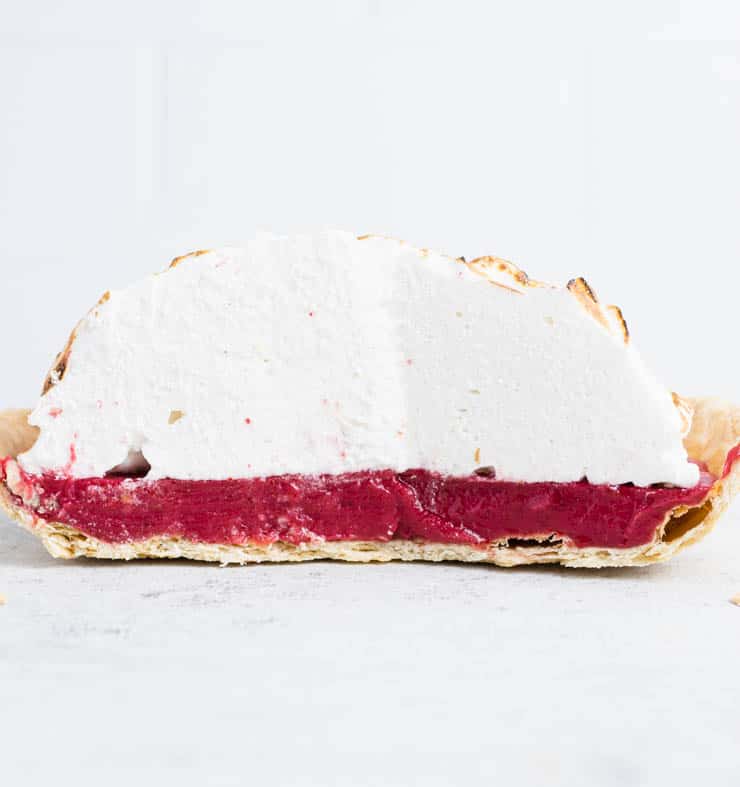
Recipes using pie crust
If you're looking for a few ways to use that freshly made pie dough, here are a few of my favorite pie recipes:
Recipe
Flaky Pie Crust Recipe
Tender, buttery and full of flavor, this easy, flaky pie crust recipe calls for just 3 ingredients.
- Prep Time: 20 minutes
- Chill Time: 1 hour
- Total Time: 1 hour 20 minutes
- Yield: 1 pie crust
- Category: Dessert
- Method: Baking
- Cuisine: American
Ingredients
- 1 stick (½ cup) salted butter, cold
- 1 ½ cup all purpose flour
- ¼-½ cup water, cold
Instructions
- Cube the butter into one inch pieces.
- In a large bowl, cut the cold butter into the flour using a pastry cutter until butter is chunky (pea-sized) and well-coated.
- Add ¼ cup cold water and massage into the dough with hands.
- Add water a few tablespoons at a time (up to an additional ¼ cup) until a shaggy dough forms.
- Wrap your dough tightly in plastic wrap and chill for an hour.
- Remove the dough from the refrigerator and roll it out into a large rectangle on a lightly floured surface.
- Fold the dough in thirds, pulling the short sides in.
- Roll into another large rectangle and fold into thirds using the opposite sides.
- Repeat the rolling out and folding step one more time.
- Wrap and refrigerate for later or use immediately.
Notes
-
- Keep everything cold: Cold ingredients are what lead to a deliciously flaky crust, so make sure you're working with cold butter, cold water and cold dough.
-
- Underwork rather than overwork: If you're unsure, it's always better to air on the side of underworking your pie crust rather than overworking it. You can work it more if you need to but you can't undo overworking.
Nutrition
- Serving Size: 10
- Calories: 149
- Sugar: 0.1g
- Sodium: 65mg
- Fat: 9.4g
- Saturated Fat: 5.8g
- Carbohydrates: 14.3g
- Fiber: 0.5g
- Protein: 2g
- Cholesterol: 24mg


Leave a Reply